If you’ve been wanting to make the transition from shooting food with natural light to artificial light, you should consider continuous lights.
Shooting with flash is very different from shooting with a continuous light source like the sun or an LED light. The exposure is controlled by the aperture and power of the light unit, not shutter speed.
Flash is also more intense because it’s an explosion of light, with a different falloff than natural light. Working with flash therefore requires different camera settings, and the knowledge of how to adjust the power output of your strobe. You also need to know how to position your light, and modify the light coming out of the flash to get the results that you want.
Artificial light is easier
Once you know how to work with flash, it’s actually easier than working with natural light. Natural light is inconsistent and depending on where you live, not always abundant. Flash gives you total control because not only can you shoot anywhere at anytime, you can override all other ambient light interfering in your scene. This crucial if you shoot on location indoors where there is fluorescent or other types of indoor lights. This will give your what is called mixed light.
Mixed lighting is when you have lights with different color temperatures. Daylight has a color temperature that looks blue, while typical indoor lights can be green or orange. This will give you a strange color cast in your images that is almost impossible to fix in post. You’ll encounter this issue if you’re shooting in a restaurant and have daylight coming in through the windows, and overhead fluorescent lights that you can’t turn off.
When I started photographing food eleven years ago, I shot with natural light, but quickly graduated to flash and have been using it almost 100% of the time ever since.
However, in the last year or so, I’ve been using LED continuous lights more often. In fact, when it comes to shooting drinks or products and some still life photography, I actually prefer continuous light.
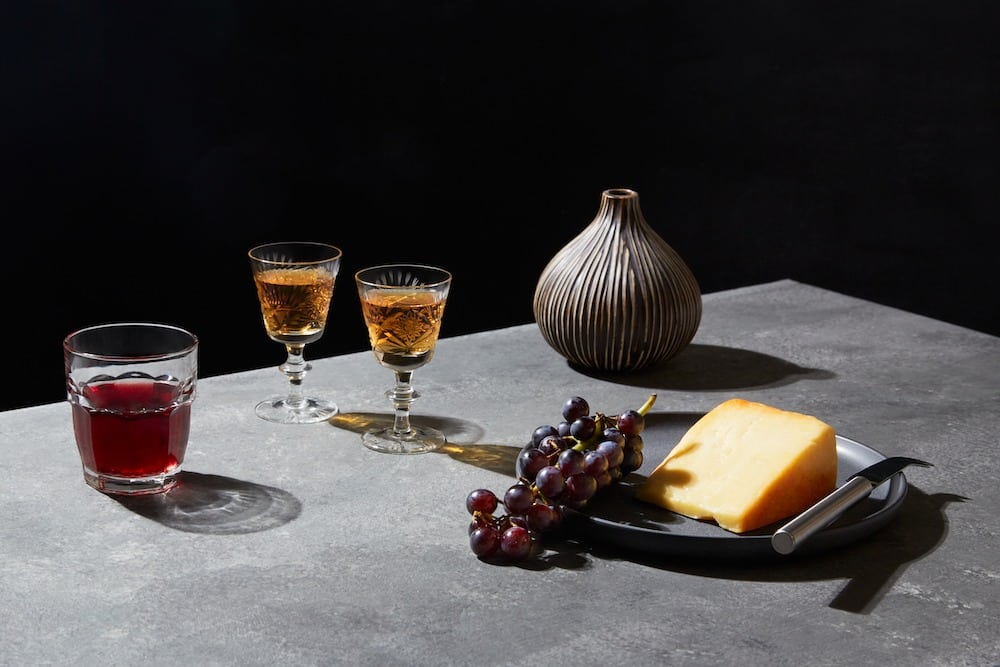
With a continuous light source, what you see is what you get. You can see where your shadows are going to fall and compose your set accordingly, without having to take more shots after each minute adjustment.
And remember how I said that flash is more intense? When shooting beverages in highly reflective glassware, it can be easier to get the look you want with continuous light, and you may prefer the quality of light an LED can give you.
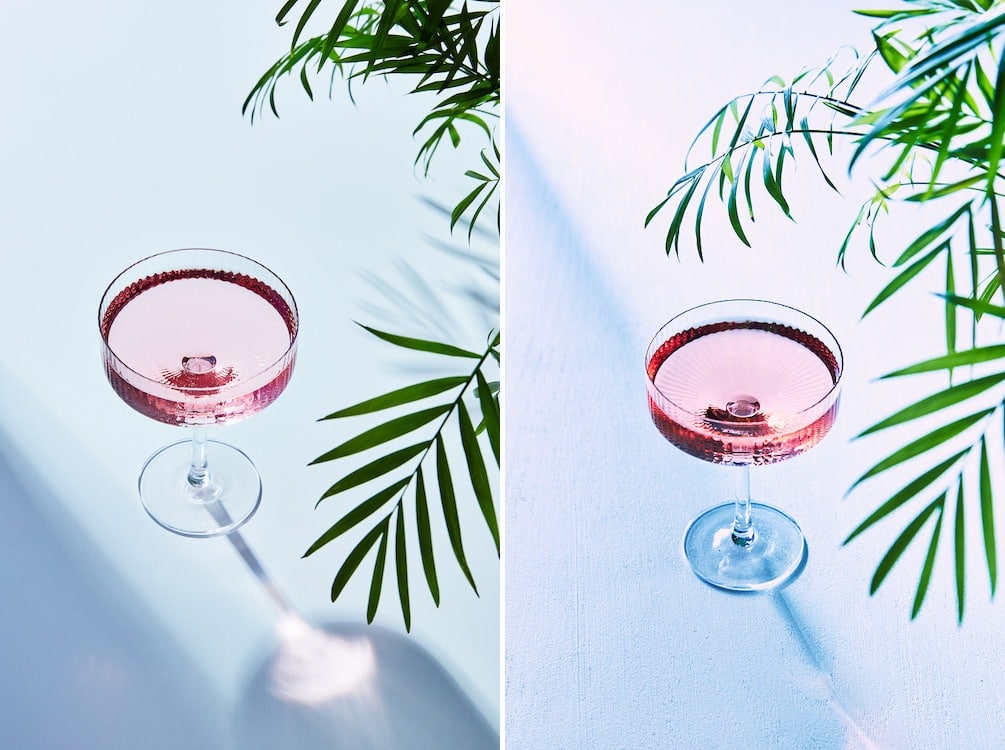
I shot the two photos below on two separate occasions, but essentially sought to recreate the image taken with continuous light with a flash (monohead). You can see the aesthetic is quite different. Which is “better” is a matter of preference, but I personally prefer the softer look of the continuous light for this subject.
So if you’ve been shooting with natural light but are frustrated by the lack of light when you have time to shoot, or you simply want more control over your light, I suggest getting an LED light.
LED technology has come a long way and is changing the face of continuous light in the photographic industry. You can now get a high quality LED light for your food photography at a relatively low price.
Of course, some LED lights are very expensive, rivaling the price tags of some of the best strobes, but there are options to be had at every price point.
Aputure is a good brand and makes high quality LED lights. I personally own a couple of LED lights by Godox, and used them to shoot all the images in this blog post. I find these very good lights for the price.
What should you look for in an LED light?
One of the most important considerations when choosing an LED light is it’s CRI. This stands for Color Rendering Index. You need a light with at least 92 CRI or your images with look green or have a weird color tint.
You also need to have a light that gives you decent power output. For example, a Godox SL60W has 60 watts of power. This is more than enough for shooting stills of food, however if you shoot video, you might want to get a light with higher power output, like a 150, or get a couple of lights.
Finally, your continuous light should be daylight balanced or give you the ability to adjust the white balance. The Godox SL60W is daylight balanced. This means it emits the same color temperature as daylight. As long as you work with the lights off, your images will have a color temperature of 5500 Kelvin.
Another benefit of having a continuous light is that you can use it as work light. This is initially why I got my first LED light. Having a daylight balanced continuous light allows me to see my set when I’m shooting with Live View or in dim light conditions.
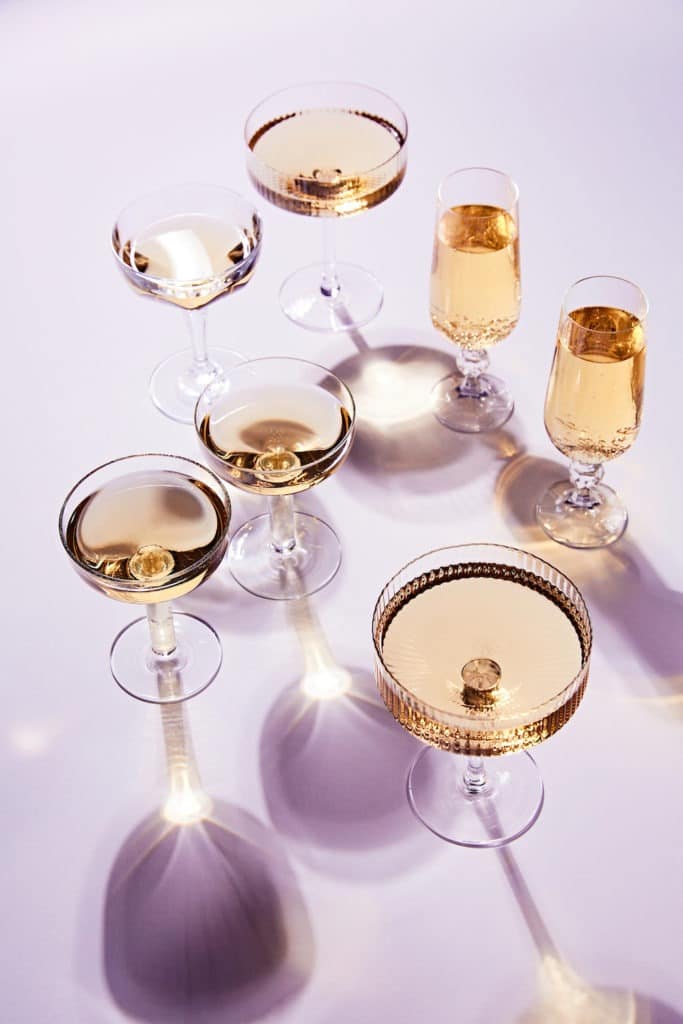
However, I discovered that I really like working with it for my cocktail shots, as pictured below. For this image, I put a gel over my light to give it a lilac tint to complement my golden champagne cocktails. The surface used in this shot was actually white.
So to sum up, if you’re shooting with natural light, you’ll work with an LED continuous light much in the same way, with similar camera settings.
You can use it as work light, fill light, and shoot anytime you want to. This can change your photography life if you’ve only been able to shoot on the weekends because it’s too dark out when you have time to take your pictures.
Want to know more about working with artificial light? be sure to check out my latest ebook LightShaping: Getting Started with Artificial Light for Food Photography. It contains 150 pages of content and comes with three free bonuses!
If you have any questions about working with continuous light, be sure to comment below.
* This post contains Amazon affiliate links. Should you choose to buy one of these items, I will receive a small commission at no extra cost to you.
7




Nice post. Flash is continually going to be my go-to light for photography, however, there are circumstances where I will discard the blazes and get a nonstop light. No framework is awesome, so I believe it’s great to have both of these. That way you can utilize the correct instrument for the circumstance and not be limited by a flash
I absolutely agree and use both as well. Thanks for sharing your thoughts!
Hi Darina,
I purchased the Godox 60w at your advice. I really love it but I sometimes miss the power for, as an example, a higher aperture. Is the 150W better for that? Or do you have other recommendations? I really like the set up I have now and I’m not feeling much for changing to flash.
Thanks in advance
Sometimes I feel I get a lot of reflection or high glare lights with continuous lights.
Do you suggest I reduce the power and up my camera settings to compensate to get less glare?
Yes, you can do that or move your light back. Or add a grid to your light modifier, too.