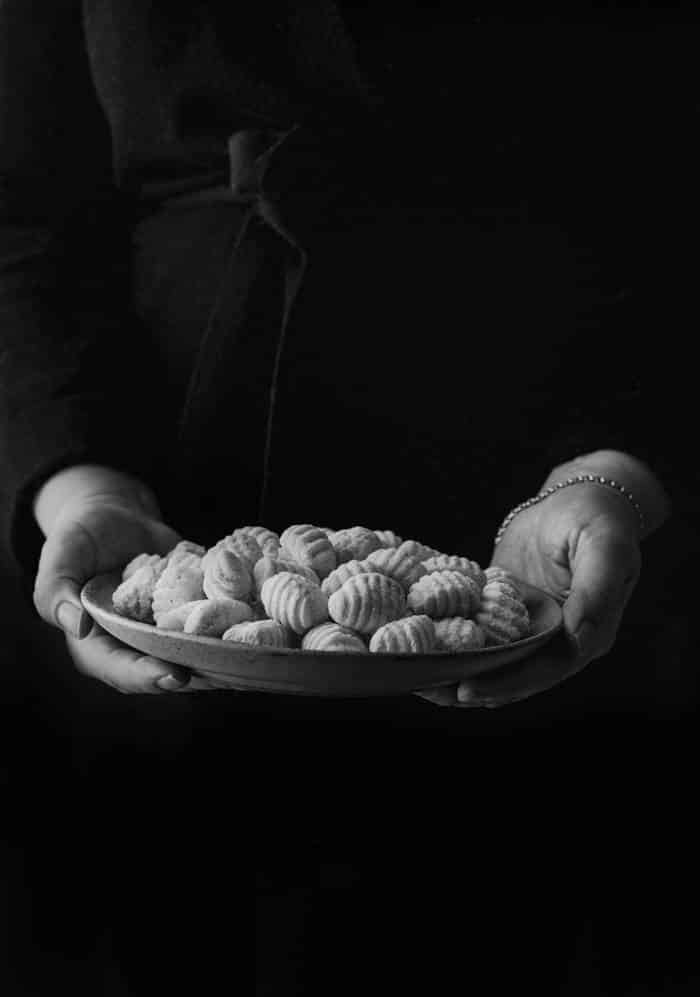
My post-processing workflow consists of doing most of my editing in Lightroom and then opening up my file in Photoshop to really clean up the image, or adjust it selectively in ways that Photoshop does better. For example, I rarely use the spot removal tool in Lightroom, as I find it often does a sloppy job. The first thing I do when I open my image in Photoshop is duplicate my background layer and use the powerful spot healing brush tool to clean up dust, unwanted crumbs, and anything else that will prevent my image from looking one hundred percent polished.
Another trick I use consistently in my work is a curves adjustment that gives me a selective vignette, or the ability to selectively darken my image. Because my food photography is often on the darker side of the tonal spectrum and I like to play with shadows, I often intensify this effect with a vignette. A vignette draws the eye into the frame and leads it to where you want it to go—usually your subject.
There are many ways to do a vignette in both Lightroom and Photoshop. However, in most of these methods, the vignette is consistent around the frame, whether it is in a round, oval or even rectangular shape. I prefer to do my vignette selectively, so I can choose which areas I want darker according to the vision I have for my image.
Because I do chiaroscuro style food photography, I like my shadows to be dark but the food bright and eye-catching. Darkening the whole image selectively and then brightening the food is my go-to trick in Photoshop.
Here is how I do it:
I do all the adjustments I want to make in Lightroom and Photoshop. I leave the vignette as the last step before sharpening.
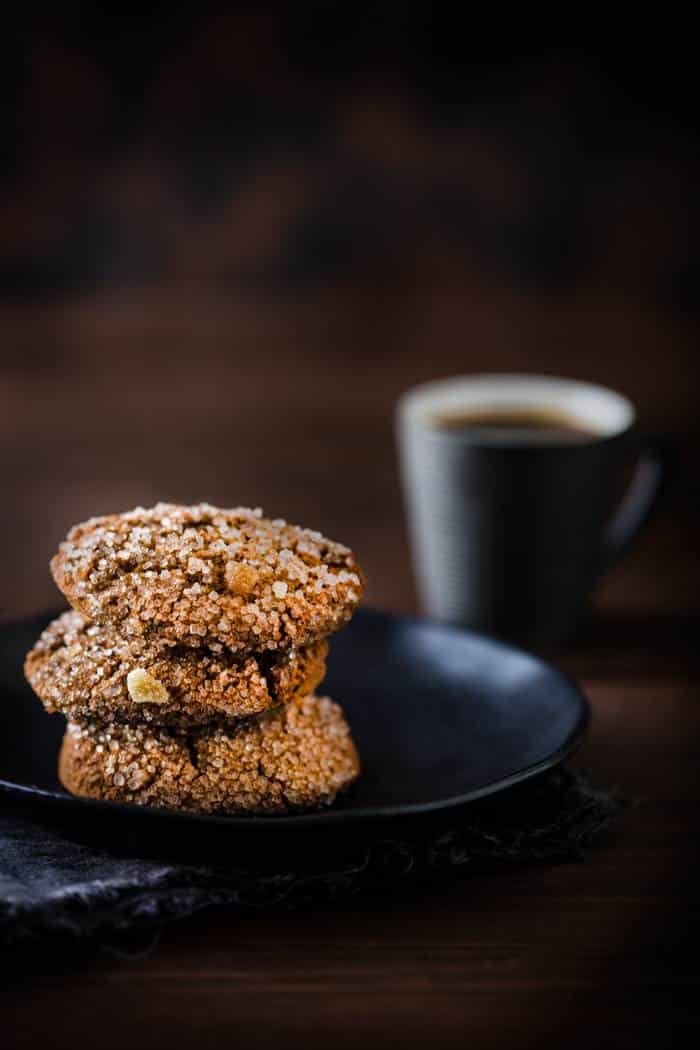
Here is the image I want to add a vignette to. Overall, the cookies were not lit as perfectly as I would have liked. Also, the crumbs and sugar sprinkles didn’t add much to the image. I often using this styling trick to give a more natural, rustic feel to my images, but in this case the rest of the image was too “clean” looking. I felt they didn’t go, so I took them out in Photoshop with the spot removal tool.
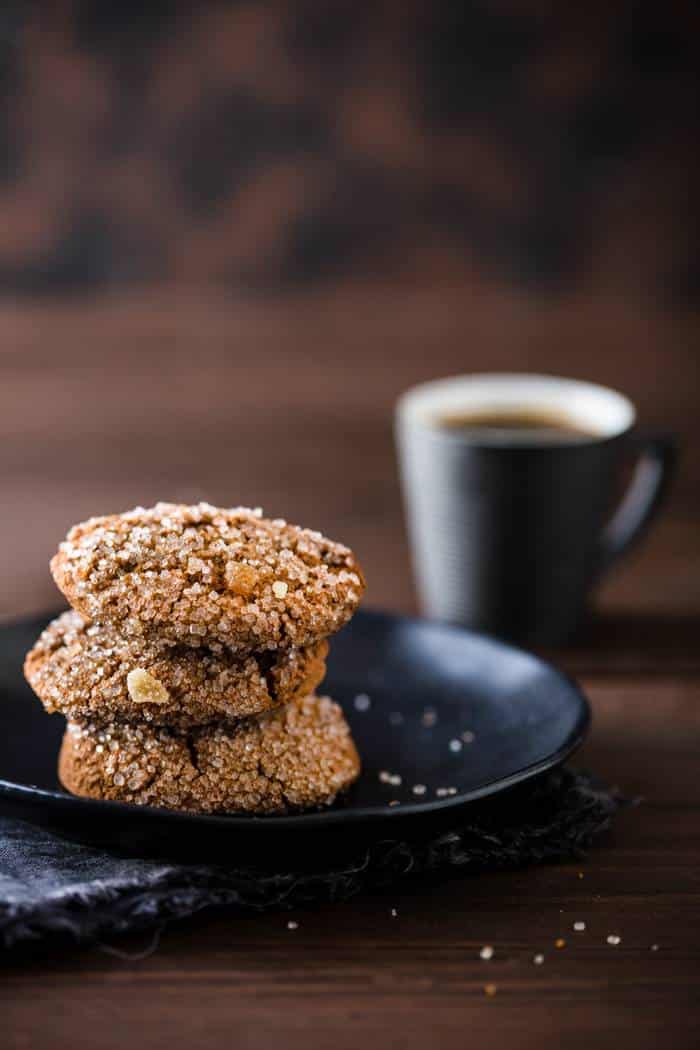
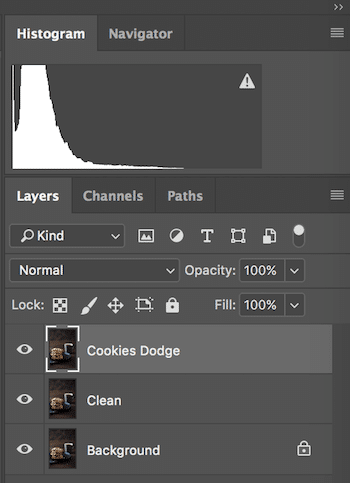
You can see my cleaned up image and the various layers and how I have named them. I never touch the background layer and I always save working copies as I go along, so I don’t end up losing my work. I duplicate the background layer and clean it up with the spot healing brush tool, patch tool, and healing brush tool as needed. I call this layer “clean”.
I click on the adjustment layer icon at the bottom of the layers panel and choose Curves. You can also go to the main menu and choose Layer > Adjustments > Curves, and the dialog box will appear.
Note that you can also get to this same place by using the keyboard shortcut command/control + M. However, when you use this method of applying a Curves adjustment, it is permanent. You can’t go back and change the settings. When using an Adjustment Layer, you can always go back later and change or remove the adjustment. I prefer using an Adjustment Layer over using the Curves adjustment from the Photoshop menu.
When your curve is open, click on the very top corner of the curve on the right and bring the point down until the areas where you want the vignette are as dark as you would like. The whole image will darken but that’ s okay, because we will fix that in the next step.
Then grab the brush tool and set the opacity to about 50-70 percent. Adjust the size of your brush and click randomly over the areas you want to lighten. You may want to lighten your food/subject first, and then lower the opacity even more and click on other areas you want lightened or brightened, but not as much as the food.


If you feel it is still too bright, you can lower the overall opacity in the Layers panel, but keep in mind this will also lighten the vignette you have painted on.
You can always delete the layer and start again if the results are not to your satisfaction. When you first start using this trick, it may take you a few tries to get your desired opacity levels. Also, every image is different and often deserves a different treatment.
So the next time you are shooting food imagery that falls into the mid-tone to dark range of this spectrum, try this little trick and let me know what you think.
Food looks its best when its colours are bright and bold, which means selective adjustments are key in both Lightroom and Photoshop. Using this method is one way to really make your subject pop.


