If you’re a Lightroom user, you may be wondering how you can get the most out of your photos in Capture One. Both programs are fantastic tools for editing your food photography, but there’s a reason that Capture One is the preferred and most widely used program amongst commercial studio food photographers. Capture One outperforms its competitors when it comes to tethering performance, colour and file management, as well as workflow tools.
Here are some of my favourite tools in Capture One that helped me improve my food photography by leaps and bounds when I made the switch. If you’re not sure about making the switch to Capture One, hopefully this post will help.
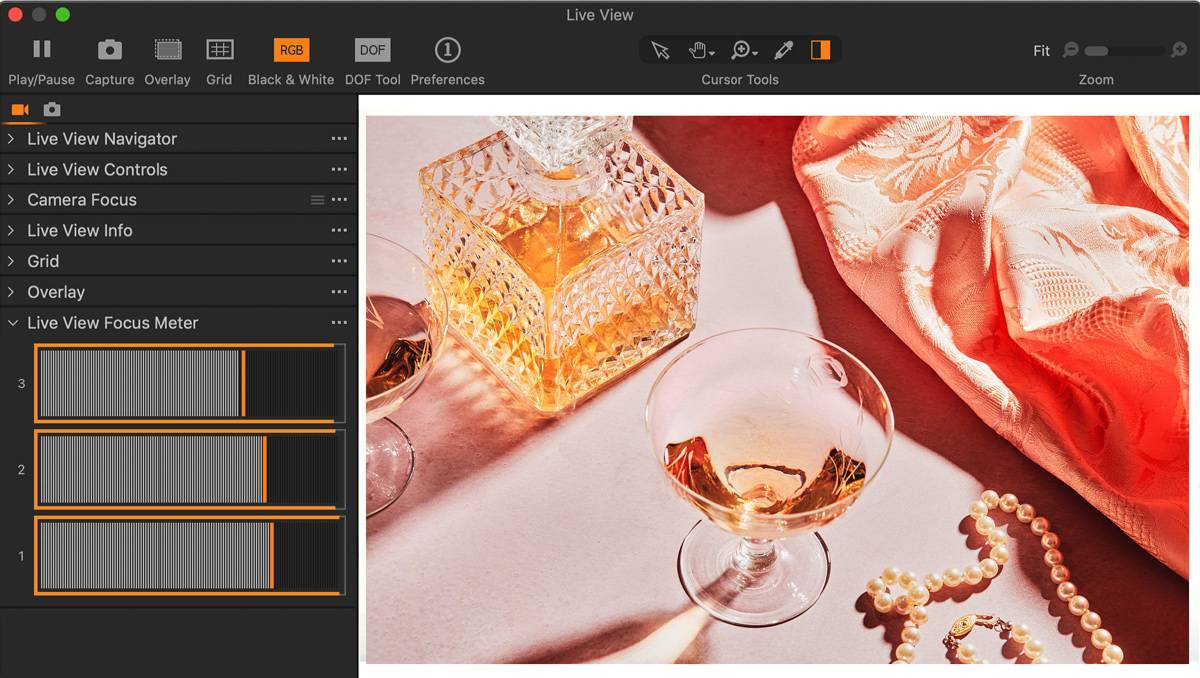
Live View with Tethered Capture
As a food photographer, it’s crucial to shoot tethered. I can’t stress this enough. If you want to shoot professionally in any capacity, you must tether.
Taking photos of food, beverages, and any other forms of still life requires impeccable attention to detail. Relying only on what you see on the back of your LCD screen isn’t going to cut it. You can miss small but very important things that you won’t be able to fix later in post.
Working on professional food shoots also means that you’ll be working with stylists. The photographer and food stylist work together to place the food on set and ensure that it looks its best for the camera. When it comes to composing a scene, a food stylist can be a photographer’s biggest ally. In order to do their job effectively, they need to see what’s happening on set.
Advanced Colour Tools
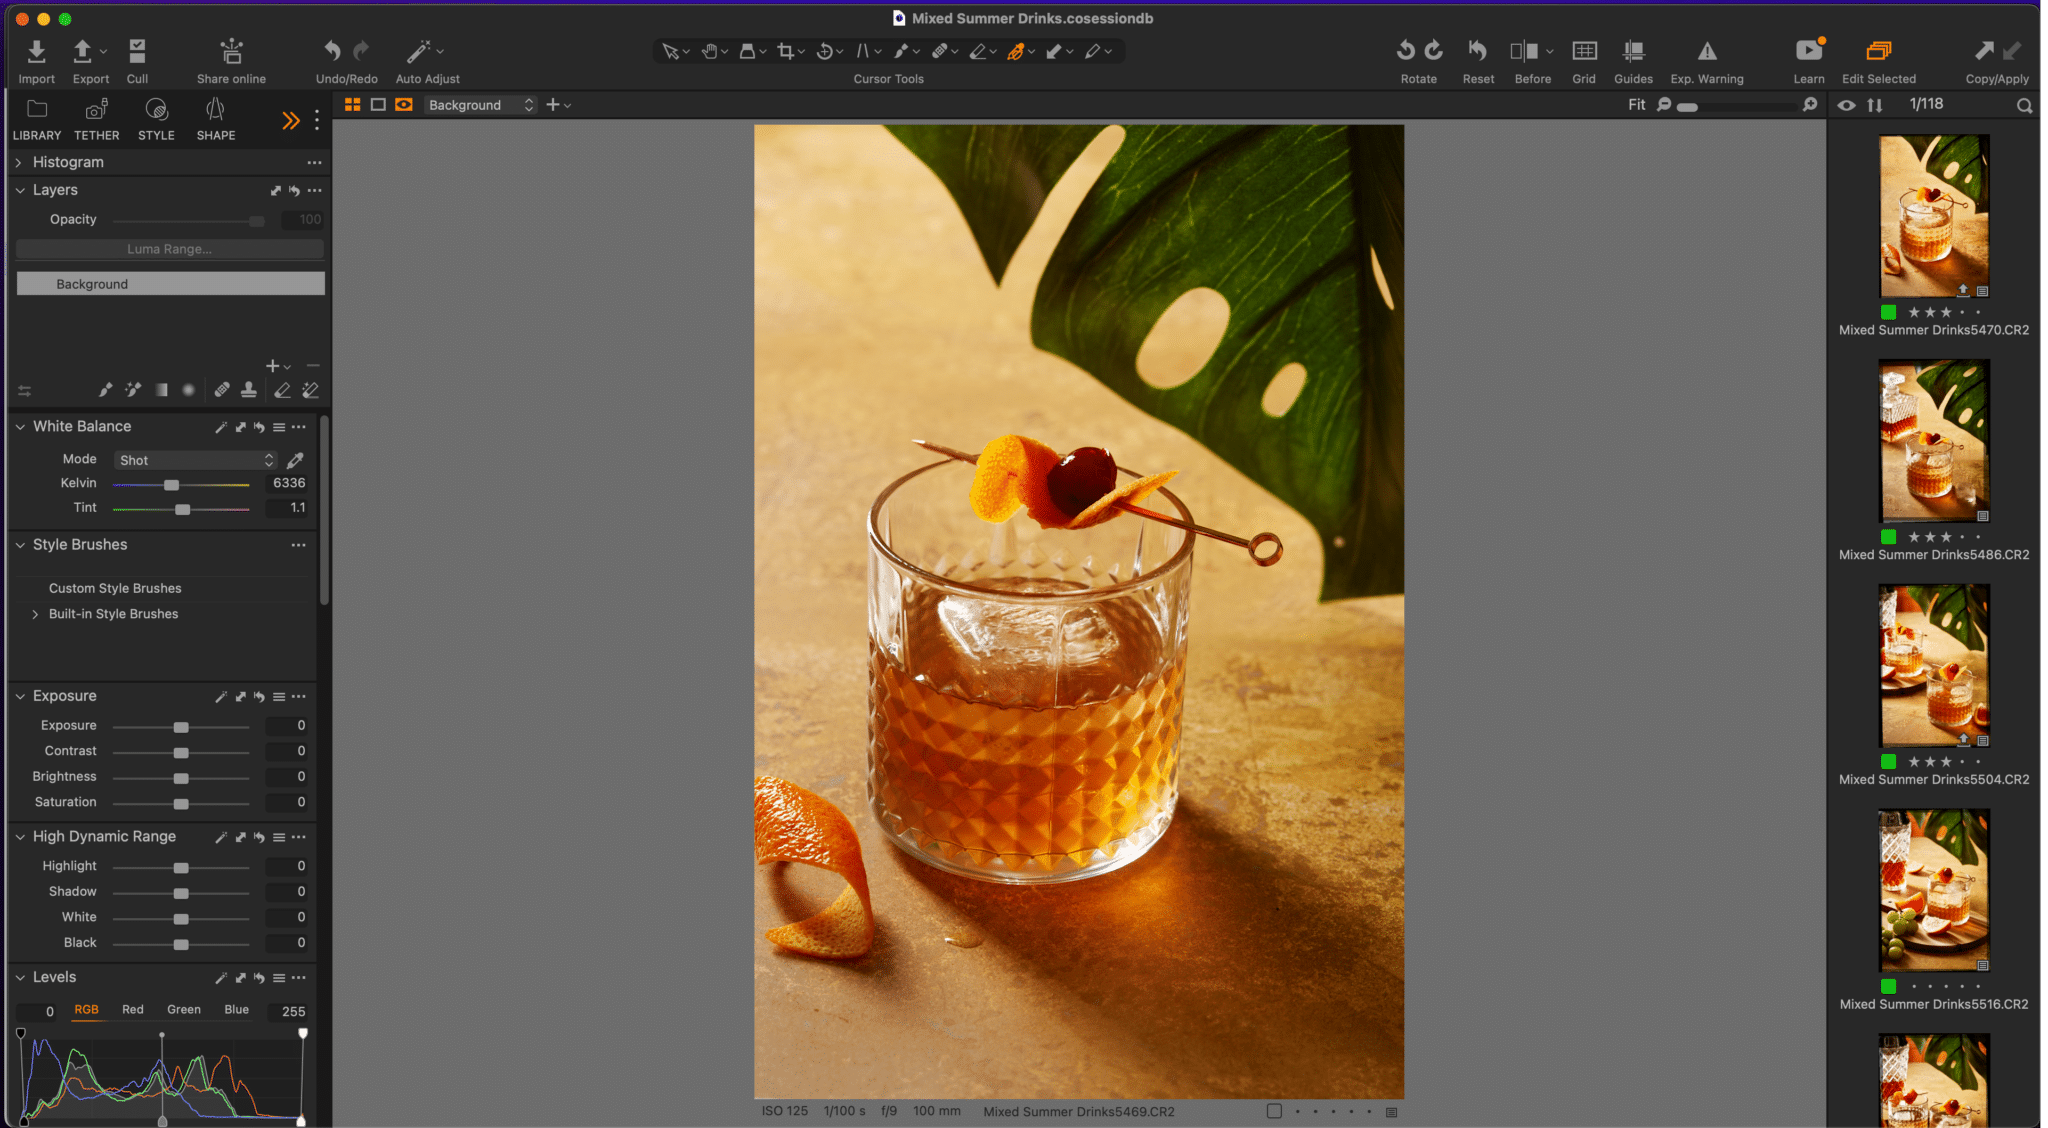
There is a big difference between the way Capture One renders colours to other RAW processors. Capture One uses a different colour engine than Adobe Lightroom. It builds colour a specific ICC colour profile and gamma curve for every RAW file based on the camera your images were shot with.
In addition, it has advanced colour tools, including a special tool for working on skin tones. As a food photographer, you may not work on skin tones unless you shoot chef portraits, but this tool can be great for correcting colour casts and white balance issues in your photos.
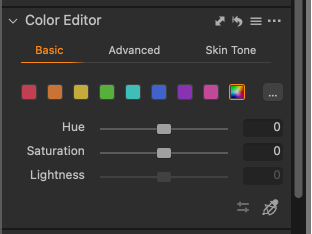
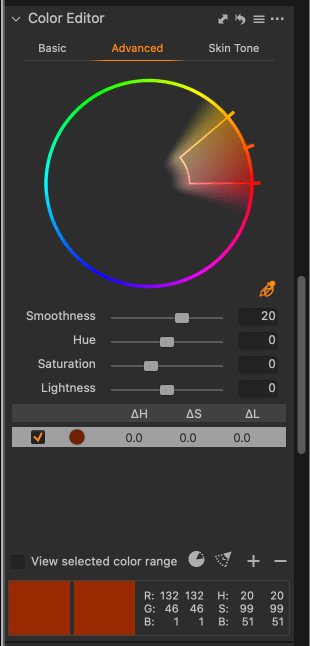
Capture One has a Basic Colour Tool that works similarly to the HSL panel in Lightroom, but it also has an advanced tool that allows you to select colours and work on colour keys individually. This tool is similar to what you find in cinematic colour tools such as DaVinci Resolve.
Curve Presets
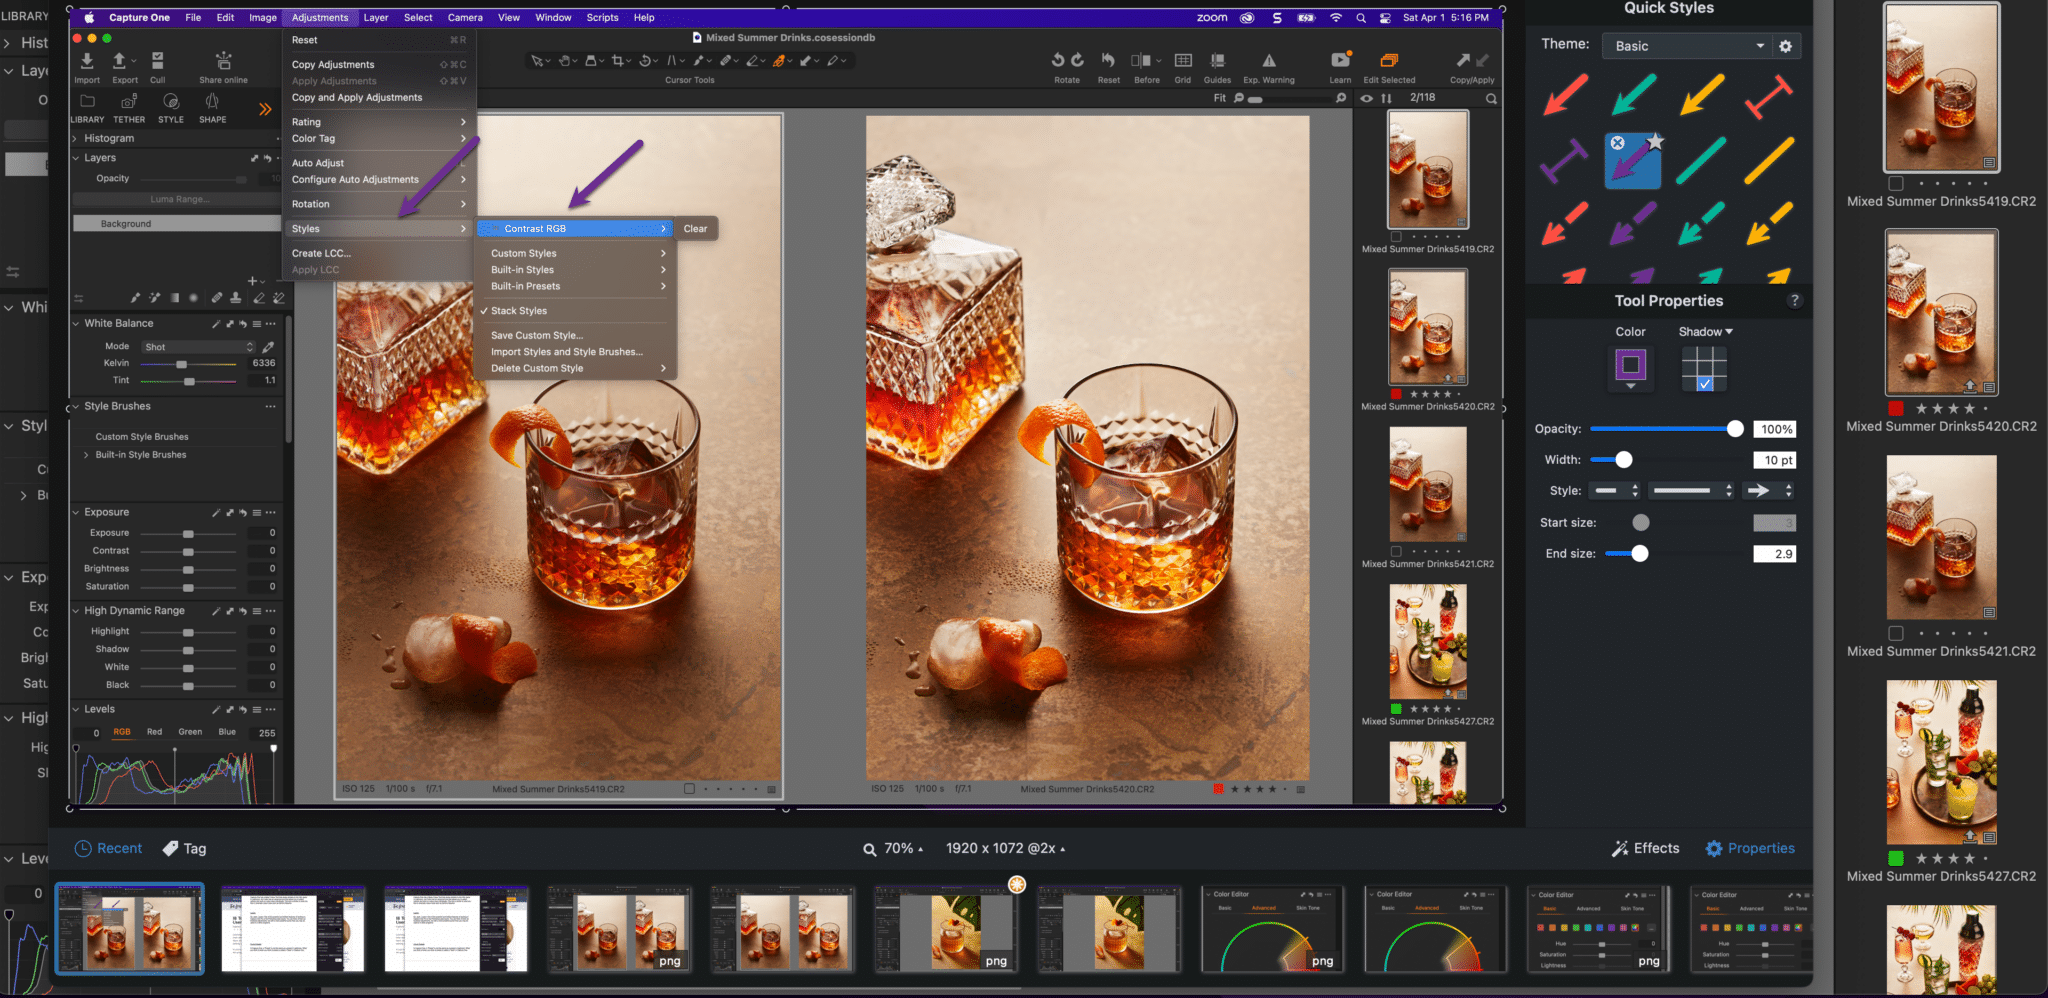
In Capture One, a “Preset” is not the same as a preset in Lightroom. What you think of when you think of preset is called a “Style” in Capture One.
In Capture one a preset is a saved set of adjustments using multiple tools. There are a multitude of presets in Capture One, but you can also create your own—which is an amazing boost to your workflow.
My favourite preset in Capture One is the RGB Curve preset. I add it to every single image I edit. It provides beautiful mid-tone lift and bright pop of colour and contrast.
Layers
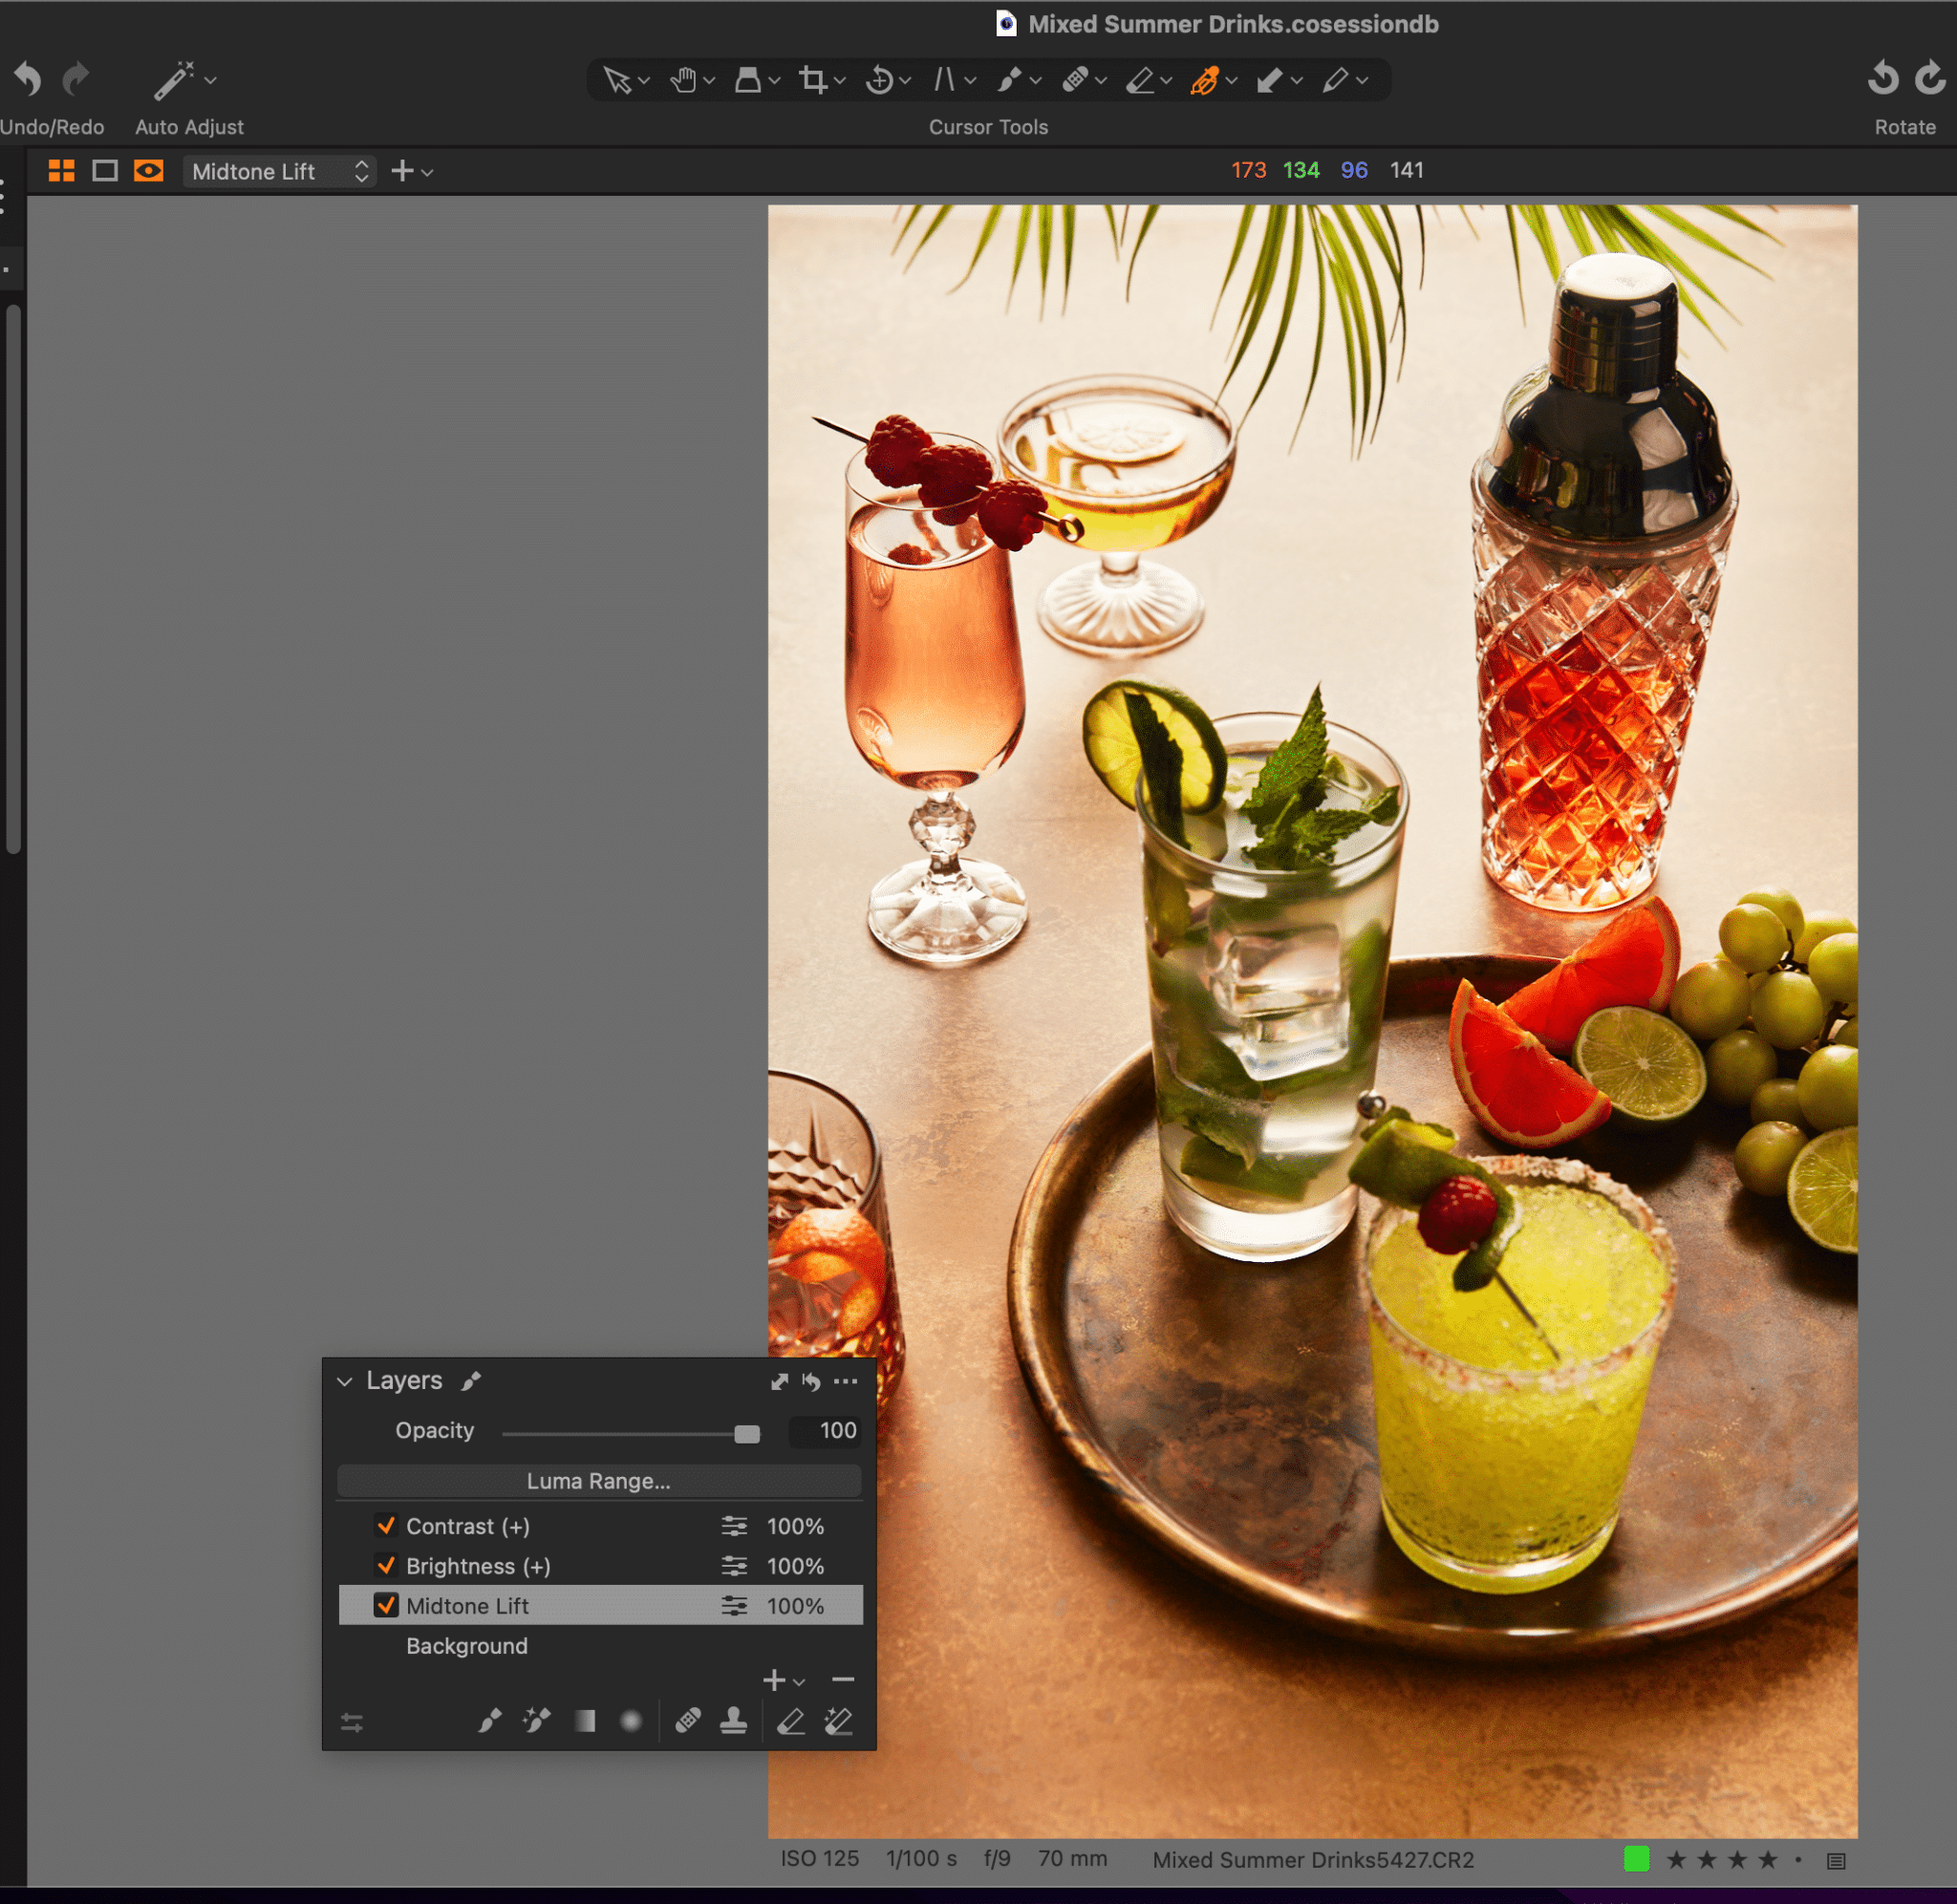
So, yeah. Layers. One of the powerful and brilliant features of working in Capture One Pro is the Photoshop-style layers. You can think of them as localized adjustments, but with a more powerful punch than you may be used to in other programs.
There is so much you can do with Layers. For example, you can limit the effect of the White Balance tool to a specific area of the image by creating a new layer and masking the area with a brush before making your selective White Balance adjustments.
You can also use it to stack adjustments, such as Saturation and Dehaze, which can have too strong of an impact if applied to the whole image.
Layers are ideal when you want to work on different shades of a colour in an image. For example, your image may have a lot of blues in it but not all blues are the same way, and you may want to have them all read a bit differently.
Masking Tools
The tools in Capture One typically apply global adjustments to the whole image but as a food photographer, you’ll get the best results when you make selective adjustments to an image; for example, correct a colour cast in the shadows or alter the colour of your subject. Masks allow you to make these adjustments easily and effectively.
There are several ways to create a mask: you can use a brush for painting on the area you want to work on, or by creating a Linear Gradient Mask / a Radial Gradient Mask or Healing Mask/ Cloning Mask.
There is also a Draw Mask, which allows you to paint a mask over the desired area for maximum flexibility.
After you have created a mask, you can apply adjustments to the image as you would when making global adjustments. If you need to apply a number of localized adjustments to different parts of the image, you can do so by creating new layers with a separate mask.
Style Brushes
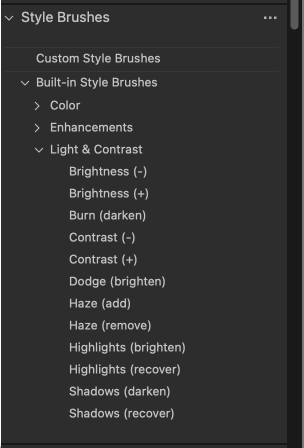
Style Brushes are relatively new to Capture One and one of my go-to tools that I used on practically every image. They were introduced in Capture One 21 (14.1.0) to improve the workflow of applying localized adjustments to the image.
Instead of creating a new Layer, brushing on as mask and then and specifying the adjustments manually, a Style Brush will allow you to do this in one step.
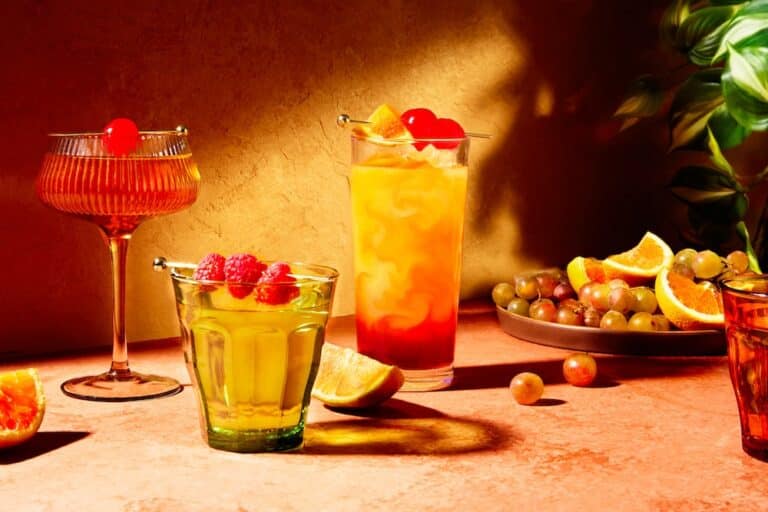
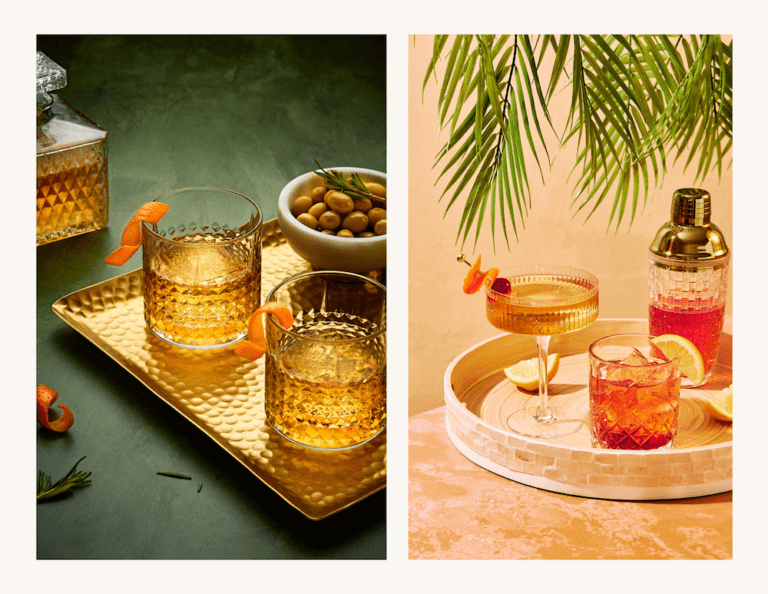
For example, I often need to brighten small areas of my image that get lost in shadow, such as the garnish on top of the cocktail, I can use a Style Brush for Brightness on that area and any other area in the image that might need a bit of a pop.
Grids and Guides
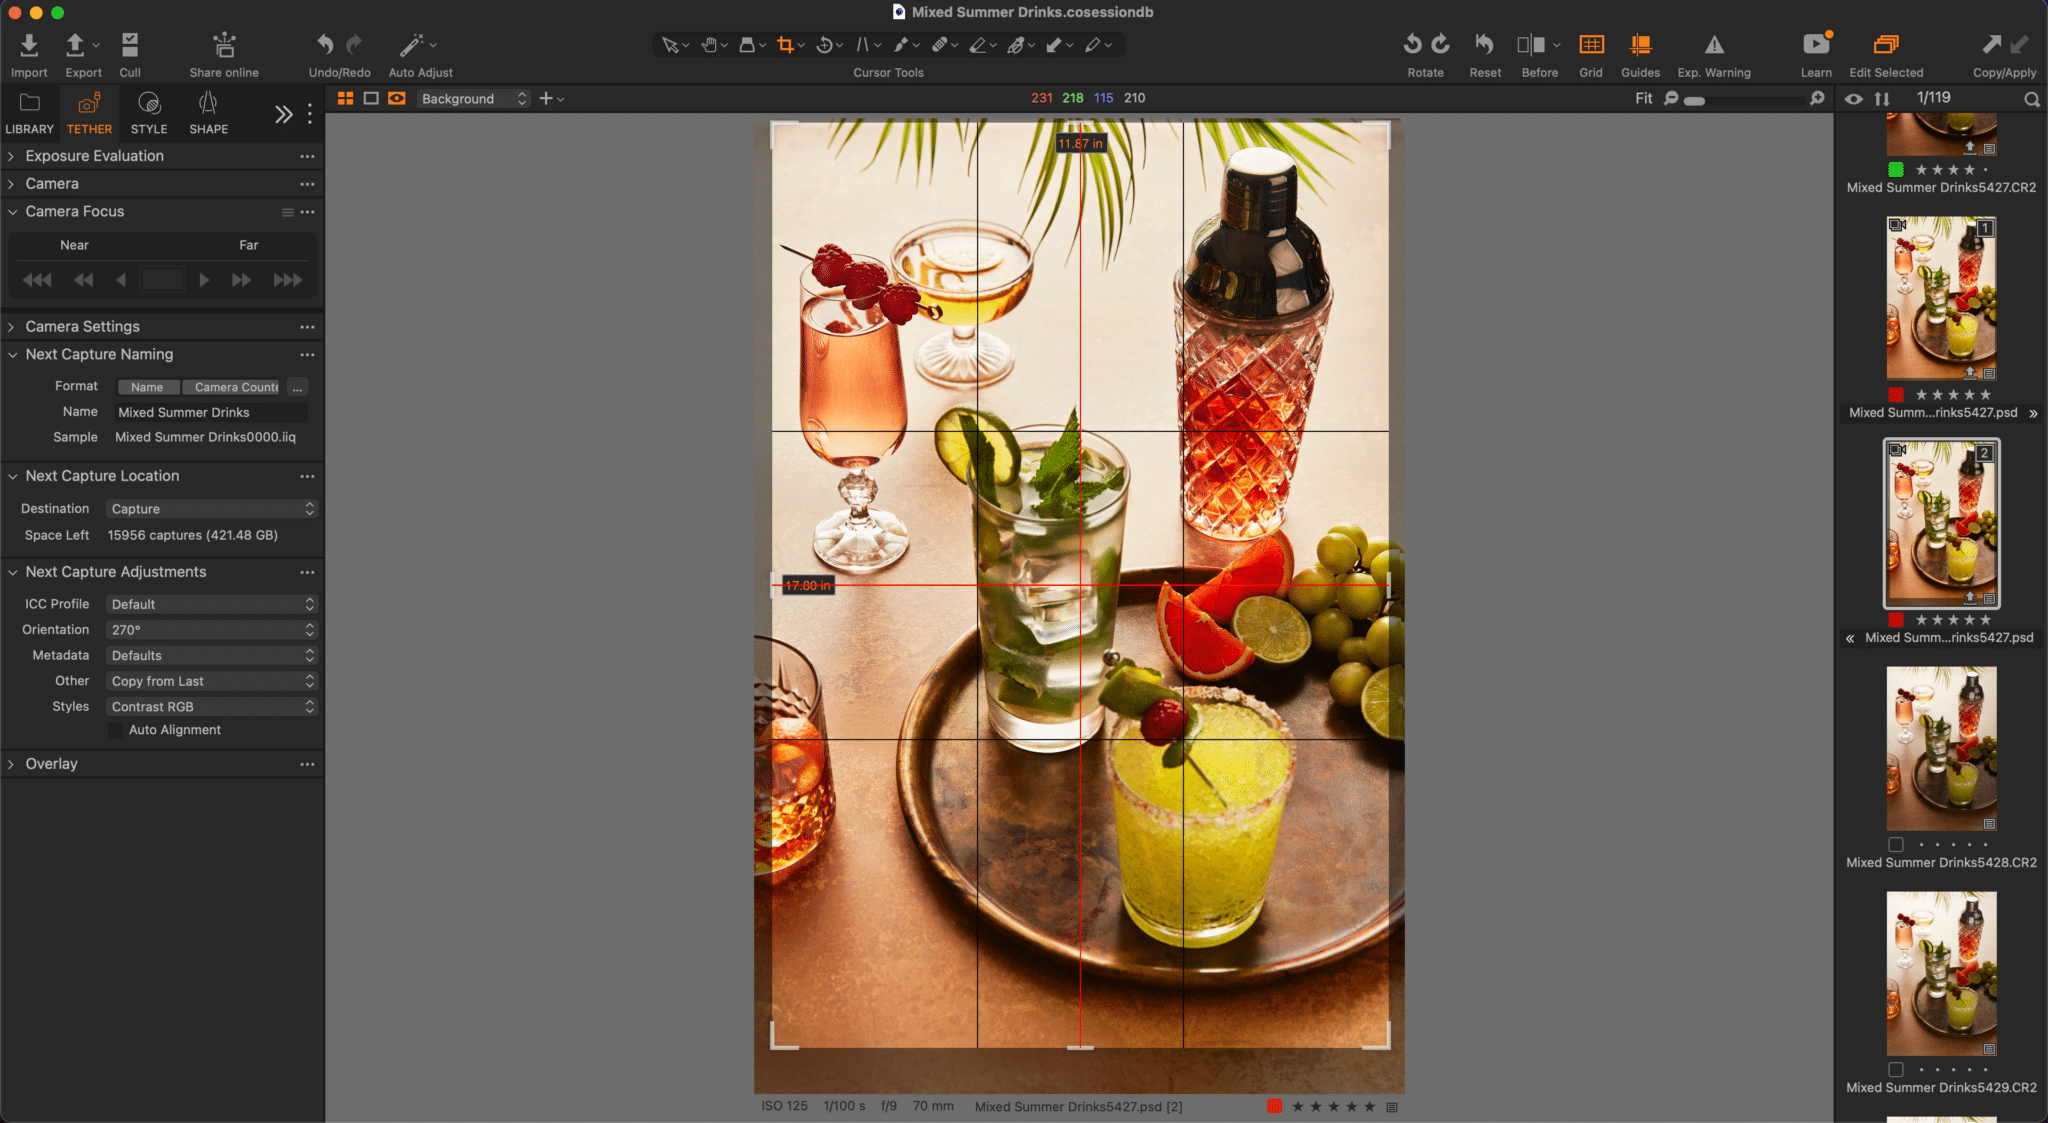
Grids and Guides can be added and displayed over the image in the Viewer to help you hone your composition. They’re useful when cropping and shooting tethered.
You can select from six available Guide collars so you can see them easily over the image.
Editing on the Go
Keeping track of adjustments to images can be difficult when you’re shooting tethered. With Capture One, you can assign an ICC profile and make a few adjustments and have all of those adjustments carry over while capturing. This ensures that you have less work to do later and can give you an idea of how your final image will look so you can make any required adjustments to your lighting.
You can also set the capture orientation, add metadata to your images, and apply any Styles or Presets you desire. As I mentioned above, I always start with an RGB Curve and often an automatic Levels adjustment.
Capture One Live
Capture One Live is a collaboration feature that lets you share your images with a client no matter where they are located. If you’re a food photographer you shoot remotely for clients, this is the perfect tool for you. You can run a live shoot alone in your home studio while your client watches the images pop up in their web browser as you capture them, and rate them via start ratings and colour tags and add comments for immediate feedback.
Conclusion
The one big caveat of using Capture One is the price in comparison to Lightroom. The monthly subscription is more than twice what you pay for Legroom and Photoshop together. In addition, Capture One cannot replace Photoshop, as it’s a RAW editor. You still need a pixel editor like Photoshop to fine tune your photos and do other thing you can’t do with Lightroom or Capture One, like make composites or move compositional elements in the frame.
That being said, Capture One is such a robust program that it’s worth paying the extra expense if you can afford it. Capture One is continuously adding new tools and features while working on improvements. With a monthly subscription you get all the updates and don’t really spend more money over time than you would if you bought the program outright.
If you’re interested in learning more about Capture One and looking under the hood, download this free tutorial on the Capture One interface.

