Food photography has a steep learning curve. Not only do you have to learn the artistic elements of composition, you also need to get down the technical side–the science of light and all the ins-and-outs of how to get the most out of your camera in manual mode.
Every genre of photography has its own particular challenges in shooting. Food photography can be particularly difficult because you have very limited time to work with before your food starts to die on the plate.
Here are five tips that will help you improve your food photography game.
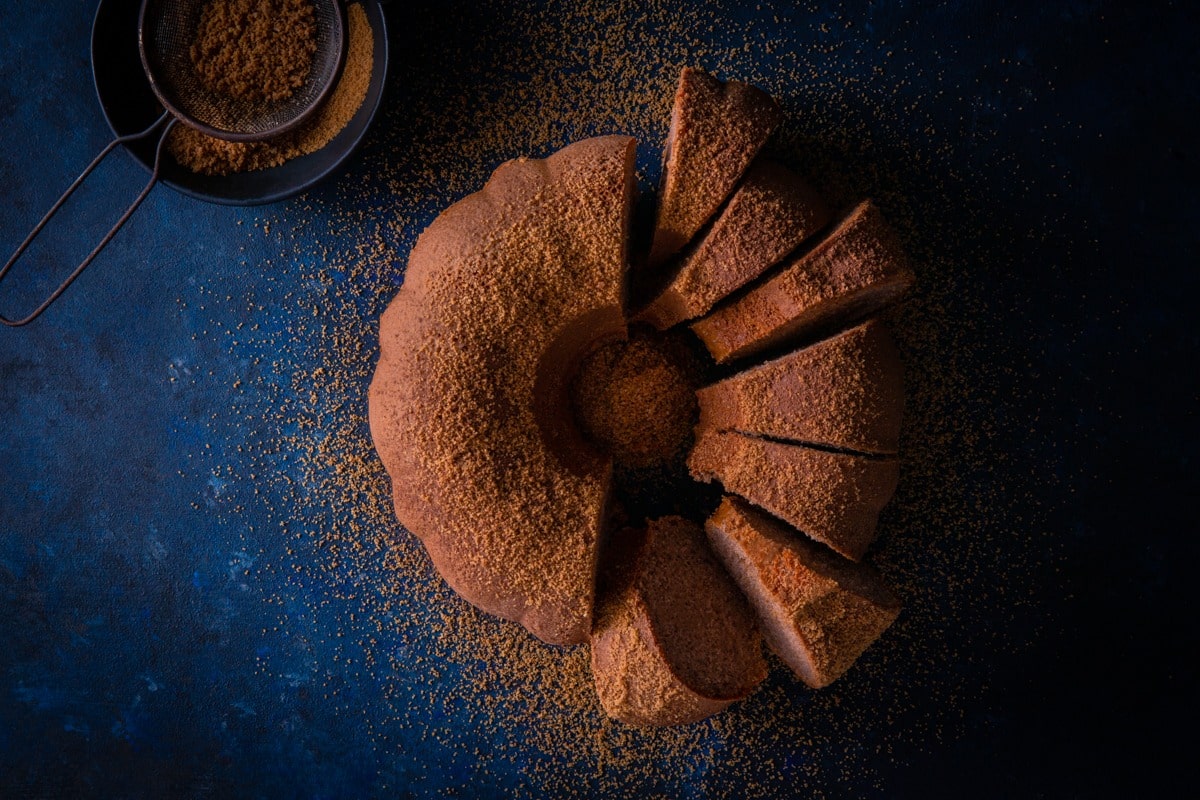
Add Depth to Your Images
This is a tip that I rarely see talked about, but it’s an important one.
Food photos look more appealing when we can add “depth” to our images. We know this because we all love the blurred out background in food shots.
So what do I mean by depth?
Basically, it’s when your background appears far away from your subject. This gives you a blurred horizon line and keeps your food subjects and props from looking “stuck” to the background.
If you’re a food blogger, or shoot at home or in an otherwise limited space, this can be a challenge because you need to position your set farther away from your background than you might have the space for.
Also, you’ll find you might need larger backgrounds than you have.
I’m not saying that it looks really bad to have your background close to your set. It really depends on the image.
What I am saying, is that when you can have the background far from your table, it usually looks better.
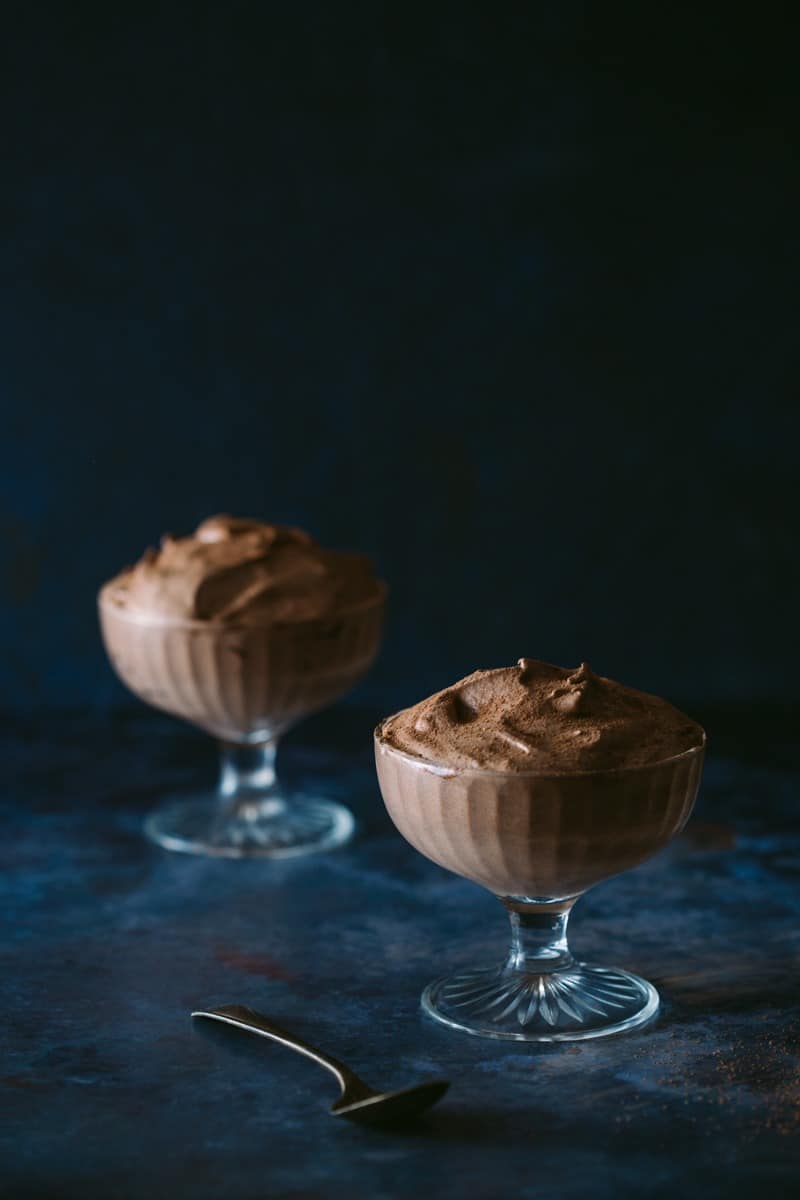
Work with a Tripod
Beginning photographers often resist working with a tripod. I know I did for years.
It seemed more freeing to position my body in whichever way I felt fit in order to get that shot.
The fact is that working with a tripod is what will set you free.
We all know that great composition is key to food photography. Great composition is about styling to the camera–not trying to find an angle where things look best to the eye. Besides, things always look very different to the naked eye than they do to a camera lens.
You’re building your set when you free up your hands. It’s a lot more difficult to do–not to mention tedious–when you have to keep putting down and picking up your camera.
If you’re working professionally, you’ll likely be working with a food stylist. You’ll be tweaking your set while most of the elements need to stay in the same spot.
It looks unprofessional to be shooting handheld when working with others.
Another reason you need to work with a tripod is that you won’t always have access to abundant daylight. There will be times when you’ll need to shoot in lower light than is desirable.
In fact, a tripod is even more necessary when you’re shooting with natural light. You’ll need to make greater adjustments to your ISO and shutter speed.
Shooting at a lower shutter speed in natural light increases the risk of camera shake.
Using a tripod will allow you to increase your ISO and decrease your shutter speed. This is because it stabilises your camera, which creates sharper images.
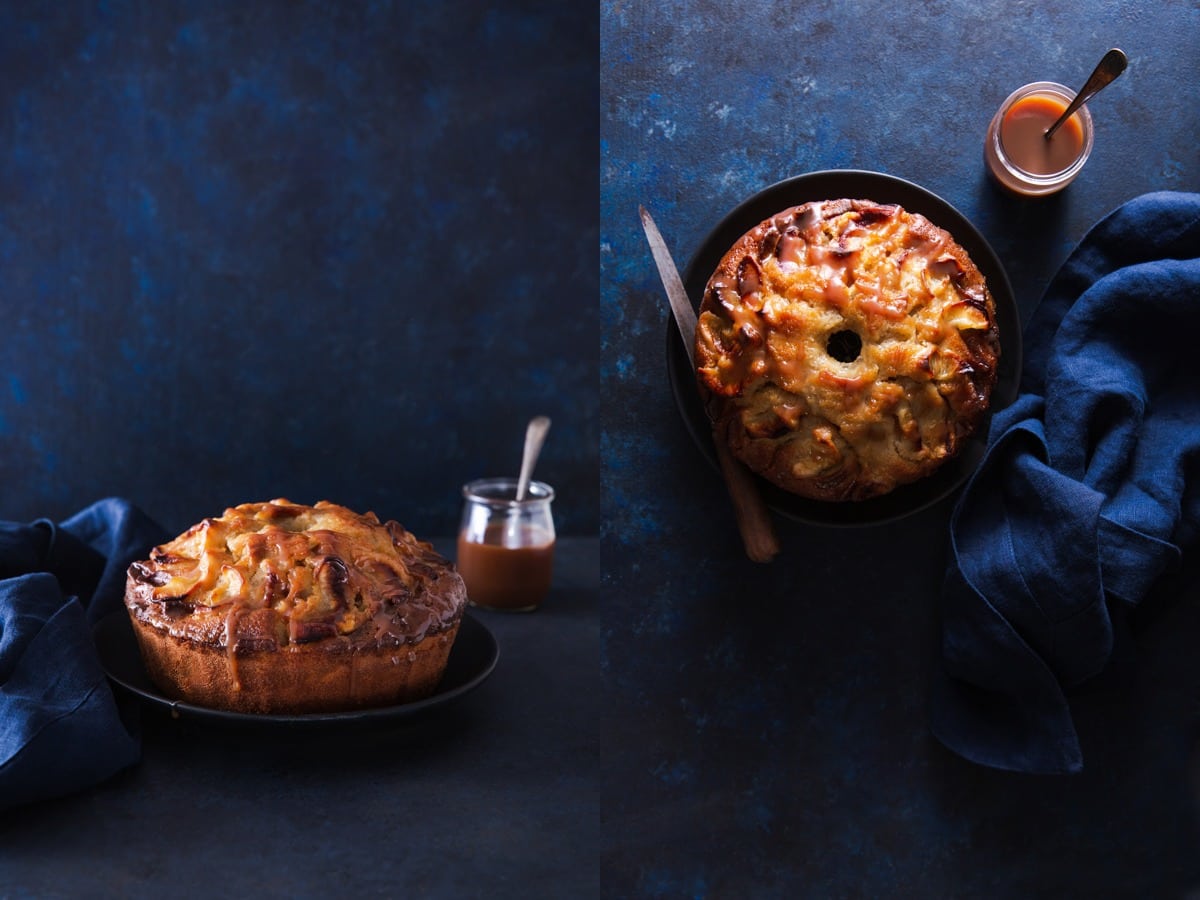
Lastly, if you’re taking a series of images, you’ll likely want consistency from image to image. If you’re shooting professionally for clients, consistency is a must.
Let’s say you’re photographing an editorial with breakfast foods. The lighting needs to look like it’s coming from a window early on a summer morning. You’ll need to replicate that light from shot to shot.
Sometimes that consistency must be exact, as in the case of product photography.
I recently shot a campaign for product packaging for a variety of frozen finger foods. I had to place each appetizer in the exact same spot in the image.
This meant that I couldn’t move my camera.
I marked the placement of my tripod on the ground with pieces of electrician’s tape. That way I knew exactly where my tripod was placed in case it was bumped. Which, of course, it was.
Tether to Your Computer
It’s very simple to hook your camera up to a program like Adobe Lightroom to see a larger rendition of your image than you can see on the back of your camera.
The LCD screen doesn’t give you an accurate representation of what your image actually looks like because it’s affected by factors such as the ambient lighting in which you’re viewing it.
Plus, it’s too small to allow you to see the details, which is very important in still life photography.
You need to be able to accurately assess each image and make adjustments. Sometimes very small ones.
Also, when you’re shooting professionally for clients, you need to be able to show them each shot and get their approval before you go on to the next one.
If you’re working with an agency, there will be a creative director and other people working on the shoot as a team that will also need to see the image. Showing them the back of your camera won’t do and will mark you as an amateur.
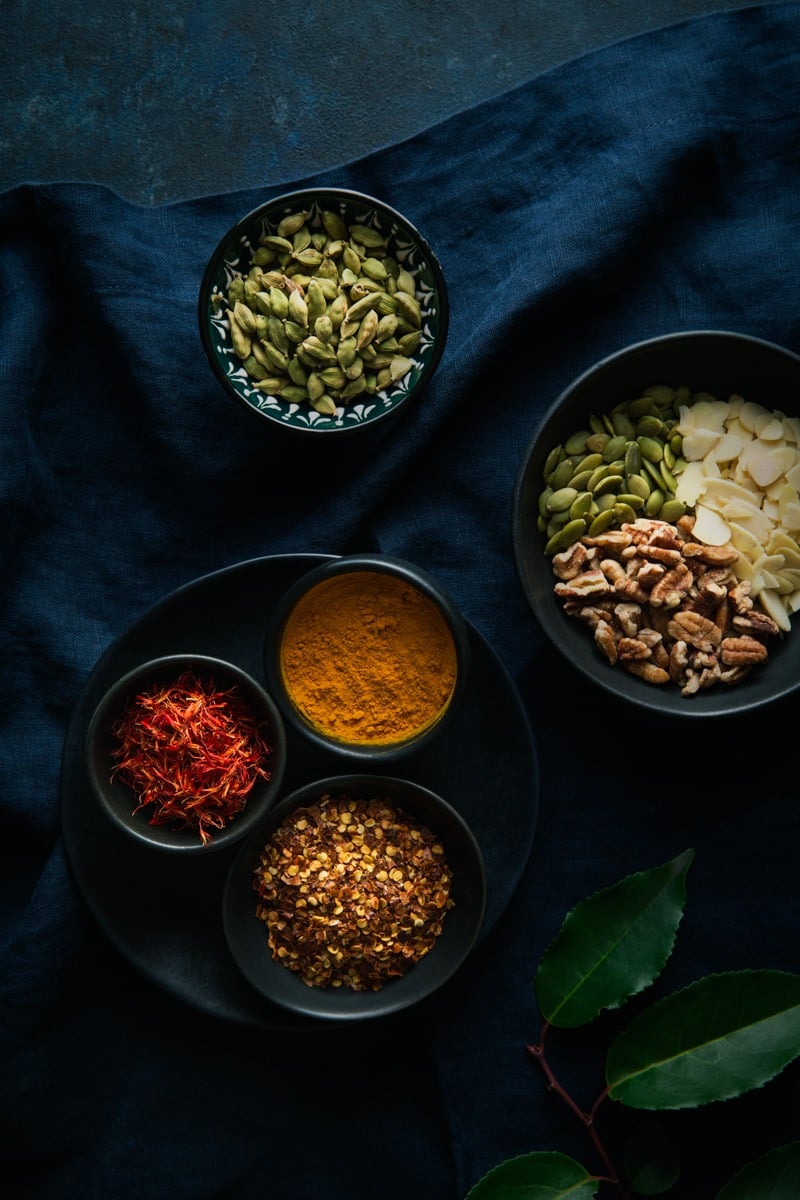
Use Filters on Your Lenses
It’s important to use a UV filter on your lenses to protect them from damage. Having a UV filter on my expensive, Canon 24-70 L-series lens once saved me almost three thousand dollars when my camera took a nosedive off my desk.
But other filters are important in food photography as well.
A polarizing filter is a type of filter that landscape or travel photographers use when they are shooting outdoors in bright sunlight, but it will also reduce the glare from your utensils or dishes when shooting food.
You’ll also get nice contrast and more vibrant colours from this type of filter.
One thing to note that it will cut your light down by 1-2 stops, so you’ll likely have to make adjustments to your usual camera settings when using this filter.
A neutral density filter will help control image exposure by reducing the light that enters the camera so that you can have more control of your depth of field and shutter speed. It’s very useful for shooting in natural light but also can be used effectively in flash photography.
An ND filter allows the use of wide apertures without risking overexposure, as well as a slower shutter speed when there is too much light. This filter helps balance the exposure across the entire image.
When purchasing filters, make sure you buy the best that you can afford so your filters don’t end up compromising the quality of your images. There is no point of putting a crappy filter on an expensive lens.
Clean Up Your Images in Photoshop
Most food photographers that I know do most of their editing in Lightroom. They do the global edits there, before refining the image in Photoshop.
This is exactly what I do and recommend except for one step: skip the spot removal tool in Lightroom and do your clean up in Photoshop.
The reason is that repeated use of the spot removal tool in Lightroom will very quickly start to slow down its performance.
You can do a better job much more quickly in Photoshop.
Scroll through your image at 100% and use Photoshop’s spot removal tool, healing brush, or clone stamp tool to get rid of dust, crumbs, or any other unwanted bits in your image.
It will look very clean and refined, and this minute attention to the details in your photographs will make a big difference in their quality.
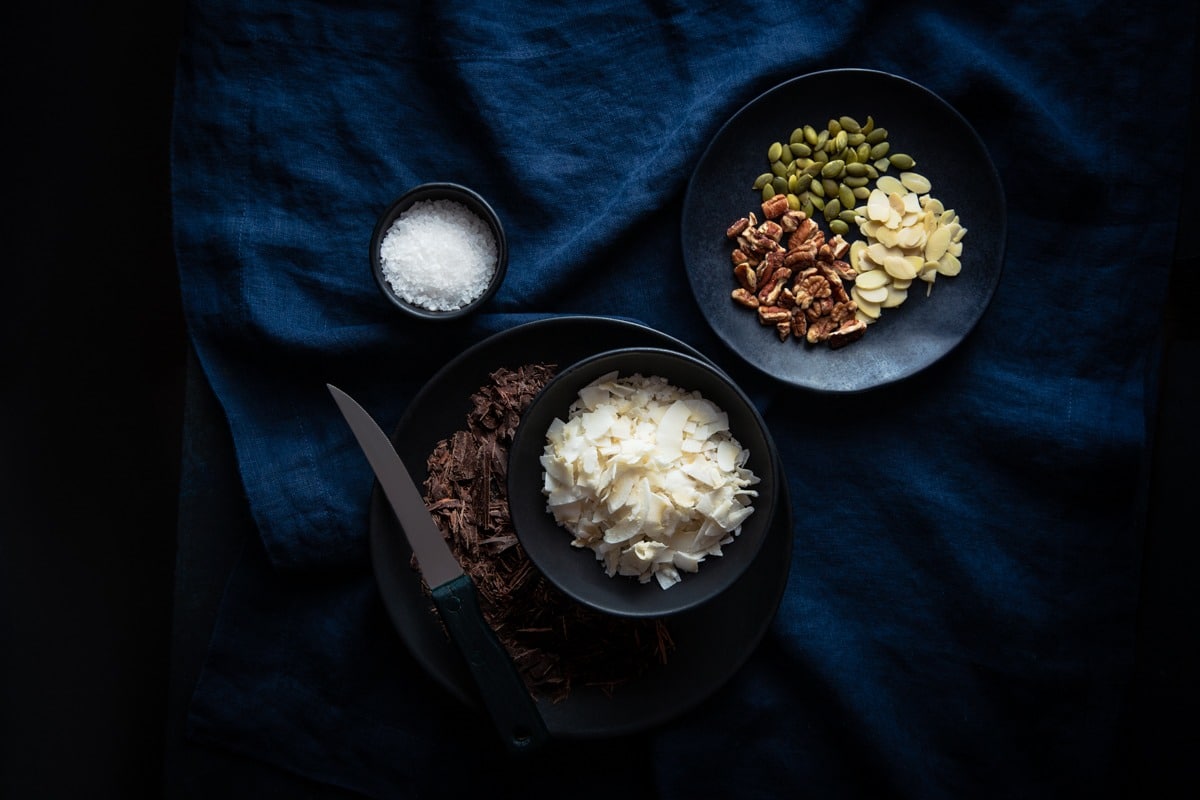
Even if you’re not a beginner at shooting food, hopefully this post gave you an idea of a step you can take to improve your food photography.
Let me know if you apply any of these tips and what the results are, and if you have any great tips of your own food shooting mouthwatering food photography.
28




I love your top and trick for food photography.
I love your tip and trick for food photography.
Thanks so much!
Thanks for the tips
My pleasure!