As a food photographer working both in commercial studios and at home on commissions, I’ve come to this conclusion about gear: you don’t need a lot of gear—or even expensive gear—to produce great food photography.
Your skill in using the equipment you have is what’s important.
At the same time, not having enough of the right gear and good quality gear will—at some point—hold you back.
During the first couple of years of building my business, I shot national product packaging campaigns and magazine editorials using a 300-watt lighting kit from Godox and made it work.
Now I use mostly Elinchrom and Profoto monoheads when I use flash. I use Godox whenever I want to use continuous lighting, which is mostly when shooting editorial beverage work.
In this blog, I’m going to break down the basics you should have for a home food photography studio when you’re shooting with artificial light. Then I’m going to expand on this with what I think you should get beyond that, when your budget allows.
As someone who shot commercially with a Godox 300, I understand the limitations of budget. That being said, you should invest in better gear as soon as you can. If what you own is not up to the job, rent it and charge it back to the client.
There’s a saying in Spanish, “Lo que barato se vuelve caro”, which means what is cheap becomes expensive.
Sometimes you end up spending a lot more in the long run, replacing cheap gear that didn’t do the job or cost you trouble with a client because the lighting quality in your images wasn’t up to standard.
You’ll notice that even the set-up for a limited budget still isn’t a cheap! The tripod and head is just under $400 USD. You’ll need something sturdy to hold the weight of your camera and lens and anything less expensive than this probably won’t cut it.
Photography is an expensive endeavour, my friends.
So without further ado, here is the gear (in addition to your camera) that I recommend for your home food photography studio.

Limited Budget
For your lighting, I recommend choosing flash or a continuous LED lighting to start, and then building up your kit to include both.
If you have a very limited budget but need or want to work with artificial light, then I recommend working with a Godox SL60 LED light. If you can afford it, get the Godox SL150 for brighter light. Whichever continuous light you choose, make sure that it as a CRI rating of 92 or higher for color accuracy. I also use this as a work light when I’m shooting flash.
If you prefer an entry level flash, then this monohead is a great start. As it has a Bowens mount, you can purchase a wide variety of inexpensive accessories, and choose from a wide range of Godox softboxes as well.
Godox Softbox 29×40/70x100cm with Grid
This is a good sized softbox that comes with a detachable fabric grid that helps you create contrast in your images. Perfect for those moody shots.
Godox Flashpoint TT600 Speedlight
This speedlight is the most inexpensive entry to flash photography. To soften the light and broaden the light source, bounce it off an extra-large diffuser.
You can learn how to do this in my ebook LightShaping: Getting Started with Artificial Light for Food Photography.
Be sure to check for camera compatibility.

I recommend an s-type mounting bracket that you can use with umbrella style modifiers and Bowens mount softboxes when you use a speedlight.
Godox Xt2 Wireless Flash Trigger
You’ll need a trigger to fire your flash off-camera. This brand comes in different versions, depending on camera brand. Choose the trigger that is compatible with your camera.
60mm or 100/105mm Macro lens
A macro lens is super versatile. Use it for close-up shots, of course, or step back for a food portrait lens without the distortion you can get from other lenses.
If you have a camera with a cropped sensor, you’ll need the 60mm. For a full frame, a 100 or 105mm will be the correct choice, depending on the camera brand you have.
50mm lens
This is a great all-around lens and is perfect for flatlays and shots where you need a wider angle on a full-frame camera. A good starter is an f/1.8 by a brand that matches your camera.
Manfrotto 190 Tripod with Pan-Tilt Head
This tripod is sturdy enough to do the job but not so heavy that it’s hard to carry around. It comes with a pan-tilt head but if you prefer to purchase another style of head separately, you can simply get the190 without one.
You’ll need a side arm to mount your camera overhead for flatlays. This will help you style to the camera, get your camera properly positioned, and save your back in the process.
You’ll need two of these. One for your light, another one for your diffuser, which you can attach with an a-clamp from the hardware store.
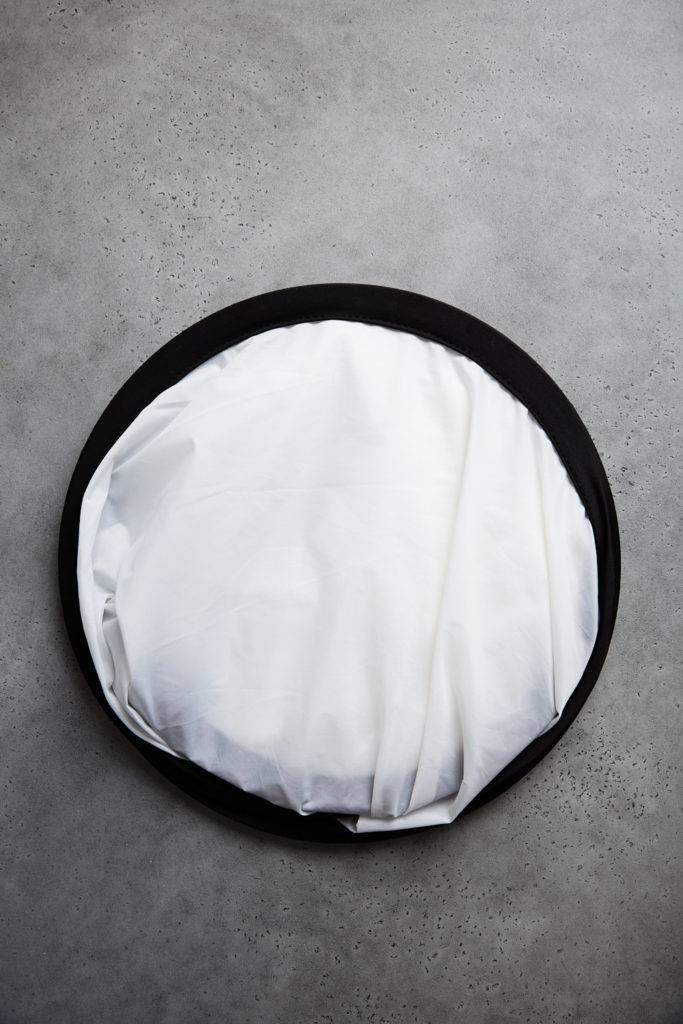
You can have several size of diffuser in your kit, but I recommend you have one gigantic one to use with your flash. This will help broaden the light and mimic the soft look of natural light
No matter what level you’re shooting at, you need to calibrate your screen. Your colors will not read correctly without this step, so an instrument to calibrate your screen in essential.
Higher Budget
In addition to the items in the limited budget category, you should also consider the following for your at-home studio.
Monoheads
Monoheads are super popular and are the perfect solution for studio photography. Some can be battery operated and used outdoors as well.
I use Elinchrom, which I prefer to Profoto. I have not tested out Broncolor, which are allegedly the Cadillac of monohead strobes.

If you do video and have the budget for it, you might want to check out the Aputure brand of lights.
Two strip boxes will come in handy for beverage photography. Make sure you get the proper mount for your lighting unit.
The larger the softbox, the broader the light source. You should have at least one larger softbox in your kit. Large softboxes can be flagged to create smaller or narrower light sources, so they are really versatile.
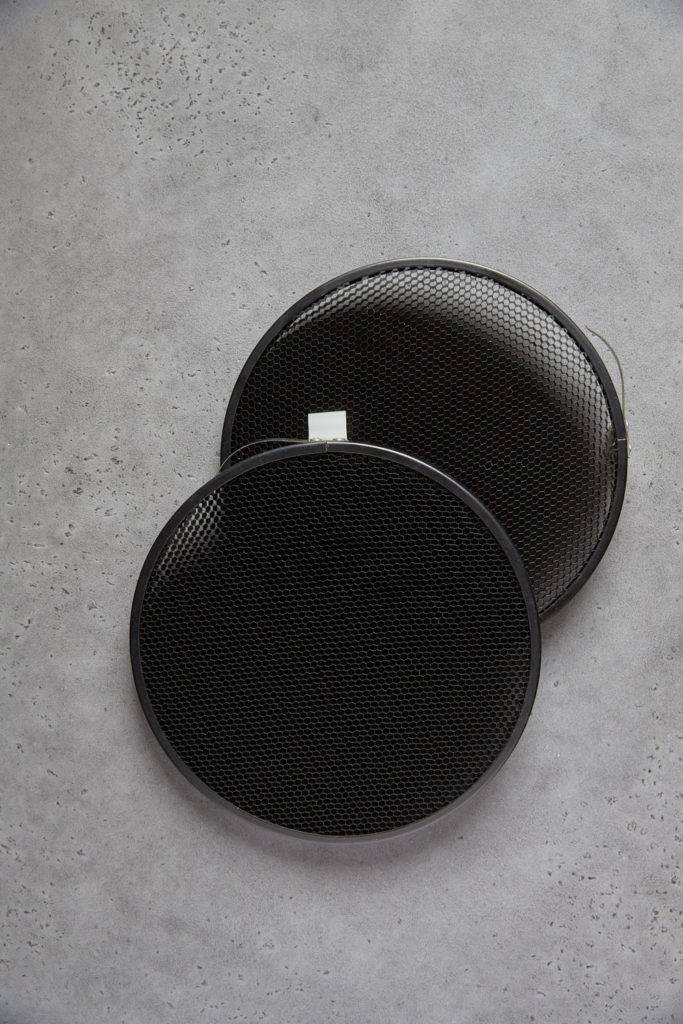
I recommend having a few grids to use with the reflector that came with your monohead, or if you have Godox, you can get the kit in the title link.
Grids narrow the beam of light hitting your subject and create beautiful contrast in food photos. Bounce the light into a diffuser and you’ll have easy light that looks amazing.
Check out this blog post for how to to do it.
24-70mm Zoom Lens
This is a really versatile lens and very sharp for a zoom. It can be used on a full frame for flatlays instead of a 50mm and is great for both food portraits and wide-angle shots of interiors such as restaurants was well.
If you’re tethering (and I hope you are!) you’ll need a good quality cable for reliable connectivity to your computer.
A tether block is crucial for preventing your tethering cord from being yanked out of your camera, which can damage the connection ports, rendering it useless.
Whether on location or in studio, a basic laptop stand is handy to have. Tether Tools makes a good one but it’s a bit on the pricey side. This is a sturdy option at a much lower price.
Prevent glare on your laptop screen with a shade. Especially useful on location.
Being able to see your photo in a larger rendition than what you can see on your LCD screen or even laptop is a must. This 4k monitor is middle-of-the-road price-wise for BenQ, but a solid, high quality option for editing your photos. I hook mine up to my laptop for tethered capture in-studio and on location.
C-stand is short for Century Stand. They have multiple uses in the studio, like propping up backgrounds, diffusers, and in some cases, holding lights and cameras. You’ll eventually want a few of these, space permitting.
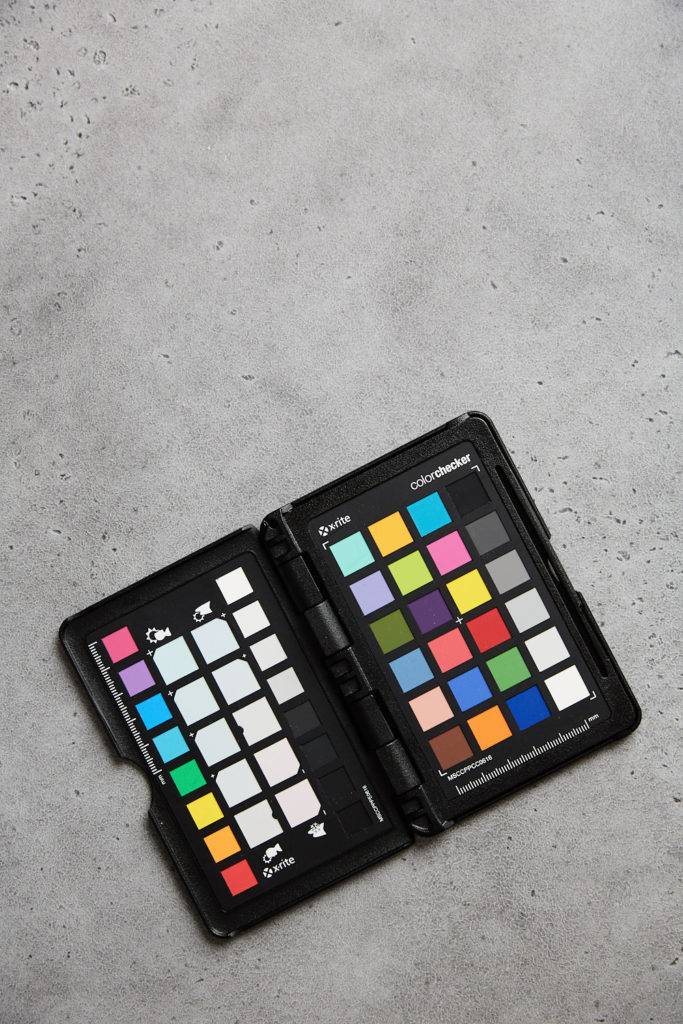
A color checker chart will help you balance your colors and can also be used for in-camera or post-processing white balance correction.
Note that these links are suggestions. I have tested most of these, but not all. Make sure that you check compatibility with your gear when purchasing triggers, lenses, light modifiers etc. For example, some triggers are camera specific, and Godox accessories can only be used on lighting units that have a Bowens mount.
* Please note that some of these links are Amazon affiliate links and I will receive a small commission at no extra cost to you if you decide to purchase any item in these links.
