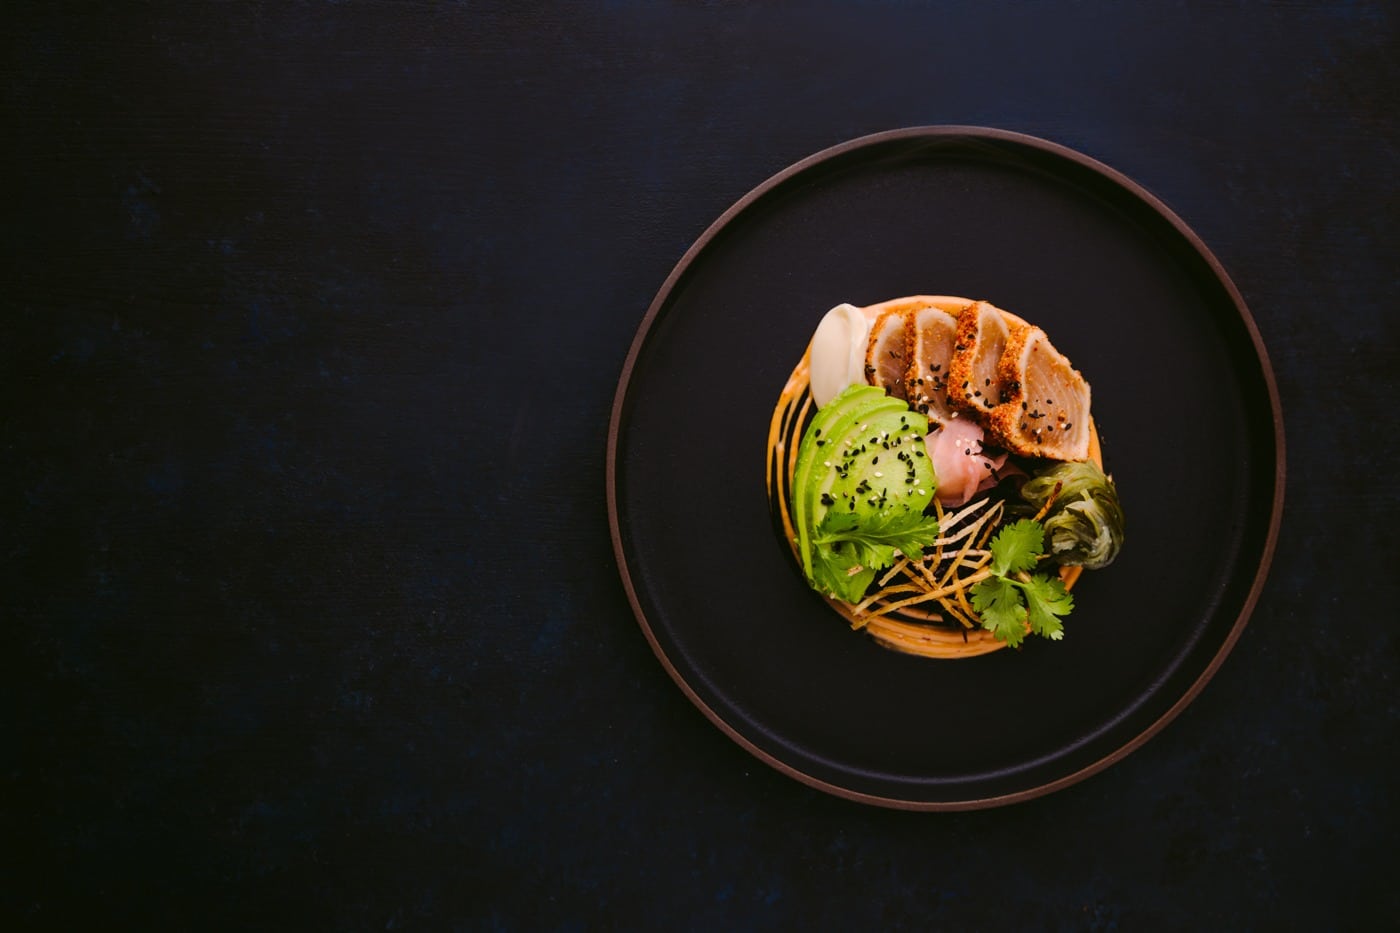
A lot of food photographers start their careers by photographing for restaurants.
Restaurants don’t always have the biggest budgets, so they are more open to working with inexperienced photographers. However, restaurant photography can actually be one of the most difficult types of food shoots. You not only have to be an adept food phooter, but you also have to be able to take shots of the chef (portraiture) and restaurant interiors as well (architecture).
My first gig as a food photographer was a 2-day restaurant shoot that involved all of the above. Thankfully, it went off without a hitch and I learned a lot in the process.
These days, my focus is on editorial and commercial projects, but I still shoot for restaurants–usually higher-end establishments or restaurant chains.
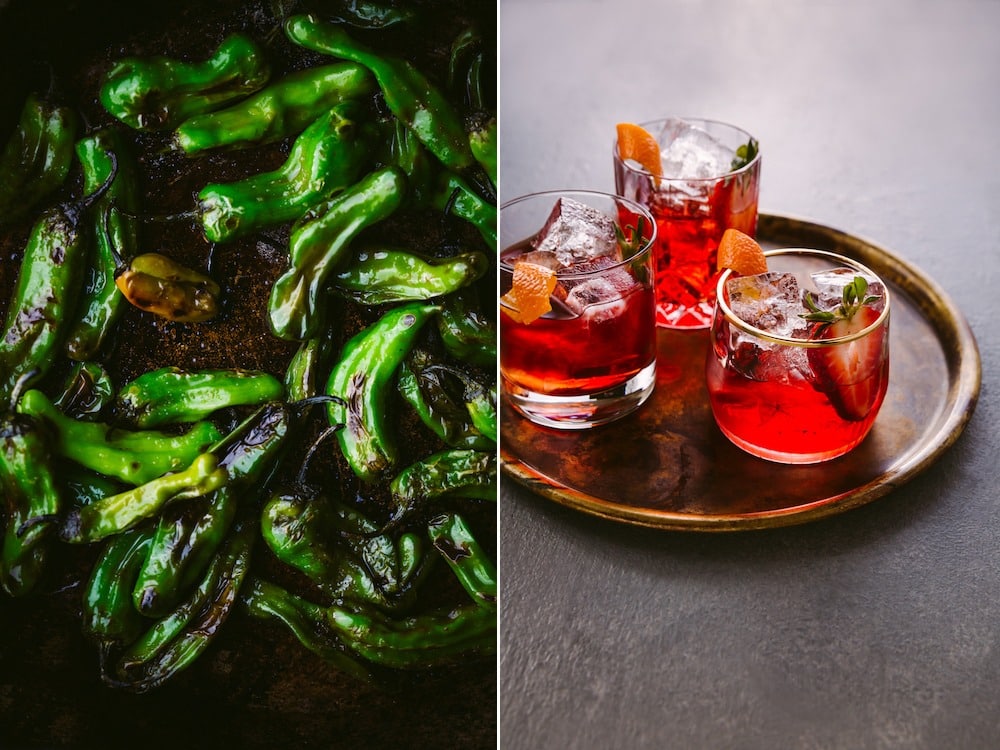
Last month I was commissioned to shoot new menu items for The Donnelly Group, a large restaurant group with establishments here in Vancouver, as well as in Toronto.
It was a fun shoot and in some ways not typical of a restaurant shoot in that I worked with an actual Creative Director to execute a very specific vision for the project. Usually when I photograph for restaurants, producing the shoot is left up to me unless I’m working with a PR agency that’s overseeing the project.
Let me walk you through the shoot and talk a bit about the process.
The Pre-Production Phase
Before you work for a client, you need to have a plan in place for what you’re going shoot and what you’ll need to achieve the desired results; for example, certain props and backgrounds. In fact, you should get a shot list and know what you’ll be photographing before you can even do a proper quote, so also keep this in mind.
Once the client had accepted my quote, I met with the Creative Director and the chef to discuss the art direction and other particulars about the shoot. They had a very specific aesthetic in mind and were very aware of their brand and how they wanted the images to reflect it. I was supplied with a printed mood board that gave me an idea of what they were looking for and made sure that we were all on the same page.
We also had to plan what shoot day would look like. One challenge of shooting for restaurants is that some may be open all day. If they don’t have a space for you to shoot, this has the potential to be disruptive to patrons.
Luckily, they had a venue, a pub, that didn’t open until 5:00 pm, so that is where we decided to shoot.
The venue was downtown, which for me can sometimes be a problem due to a lack of parking close by. I usually have a full carload of gear, and this shoot was no exception. However, in this case there was a spot reserved for us right behind the restaurant.
My assistant and I arrived an hour before shooting was scheduled to start. This is how long it takes to unpack everything, set up the lights and test them. I always ask to arrive to my jobs an hour ahead of start time.
The Shoot
I rarely ever shoot in natural light. It is very rare that restaurants have enough light, and even if they do, I prefer working with strobes to make sure that my light is consistent and that I have full control of my results. Also, my lighting style is dramatic, with a lot of contrast, which can be harder to get with natural light.
To see the lighting set-up I most commonly use, check out this post. This is the exact lighting set-up I use in studio and in restaurants where I have the space.
When shooting for websites, images usually need to be shot in landscape orientation, to fit in within the parameters of interactive web design. Part of the image will automatically get cropped out.
However, some of the shots also needed to be vertical for Instagram and other marketing materials. I made sure I knew which images on the shot list needed to be in portrait orientation and photographed those first, so as not to have to repeatedly move my camera and tripod. When you switch from one orientation to another, you can’t simply switch your camera. You also need to recompose your scene, which can take some time. Therefore, it’s more efficient to shoot all the images in one orientation at once, before moving onto the other. Time is of the essence when shooting for restaurants. You don’t have hours to perfect one shot as you do when shooting product packaging or some other types of commercial projects.
The shot list for this gig was 15 shots. That may not sound like a lot, but these were not images taken on a table in the natural environment of the restaurant. We composed the images on backgrounds that I brought in, with props, and we sometimes had to move the lighting and camera. This is the maximum number of images I would recommend commiting to for a one-day shoot in a similar scenario. When you rush to get things done, your work suffers. Better to promise 15 great shots than 20 or 30 that are so-so.
Also take note that I work with an assistant, even for restaurant shoots. Without an assistant, even 15 shots wouldn’t have been possible. Having to move gear around and look for things would have slowed me down, not to mention it would have taken me a lot longer to set up and tear down without someone to help me. It’s also helpful to have someone making sure that the files are being backed up or doing some quick edits in Lightroom or Capture One Pro if needed.
After every shot, the Creative Director approved the image or made recommendations for adjustments. It’s really important for the client or other representative of the company be there on shoot day and approve every image. That way they can’t come back to you later and say it’s not what they wanted, or that they didn’t like the images. Mood boards are great, but you still need client feedback. You can’t see inside their head. It’s your job to give them exactly what they want, so getting their approval on each shot is the only way to do that.
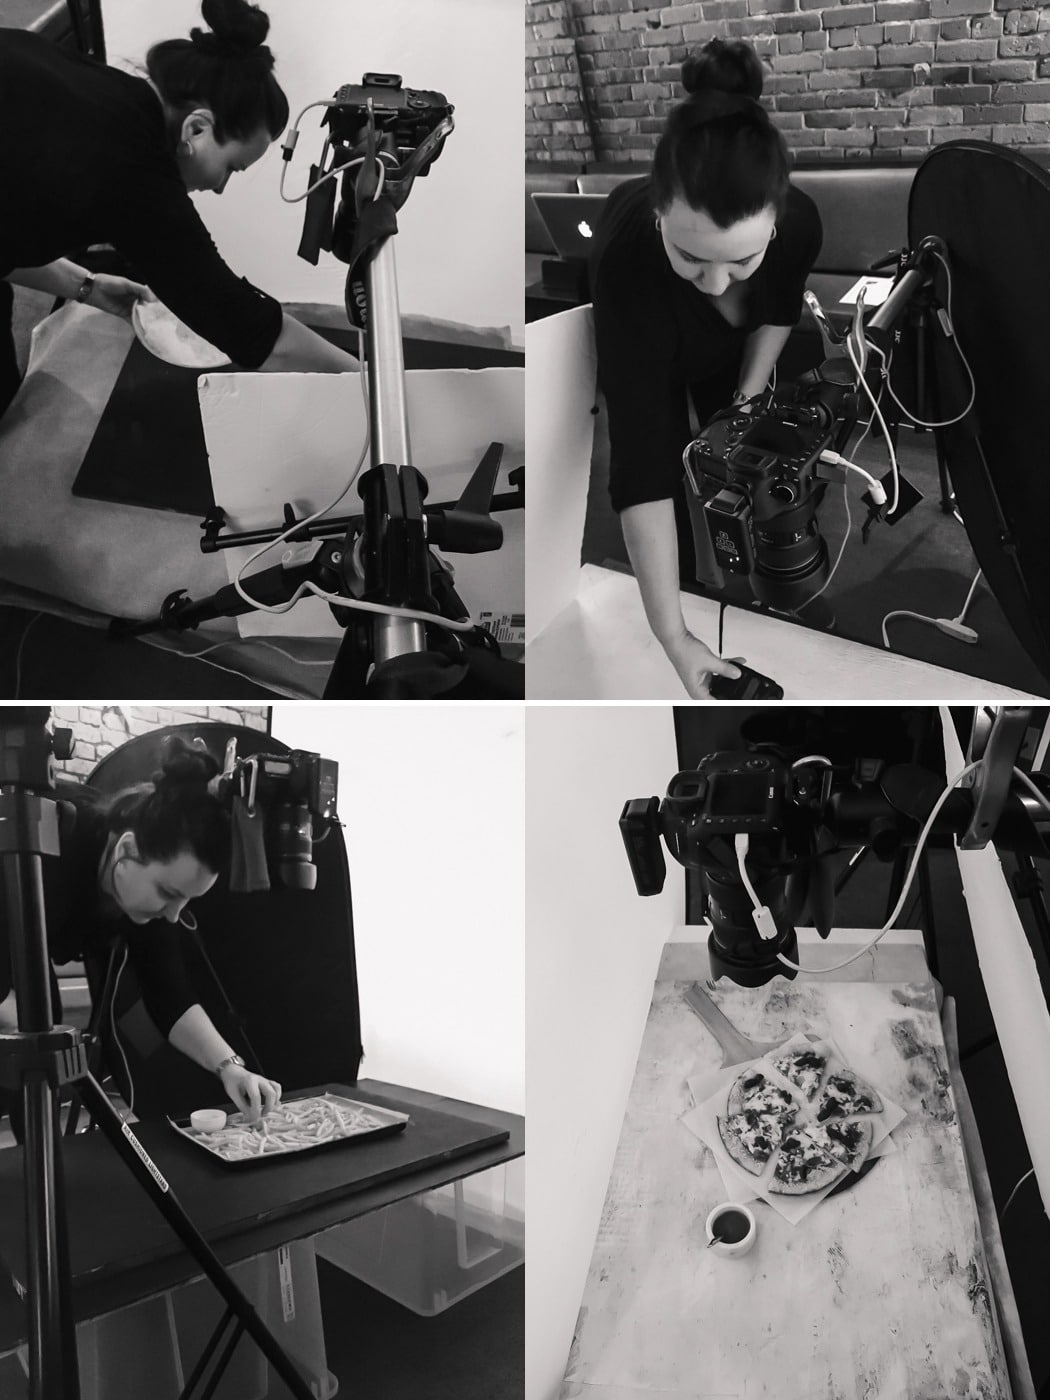
Here are some behind-the-scenes phone snaps of the shoot. Keep in mind these were shot in a pub so it was quite dark–the quality isn’t that great.
Post Production
Every photographer works differently, but I myself try not to schedule anything the first couple of days after a shoot so I can get the images to the client as quickly as possible.
I do some basic retouching for the client and upload the images to a gallery using Shootproof or Pixieset and send it to the client. They choose the images they want and those are the ones I retouch. I edit the number agreed upon, but if they want to purchase more than that, they are free to do so. Post-processing can take a lot of time, so I factor this in when I’m quoting on jobs. I always retouch at 100% on Photoshop and make sure every speck of dust, crumb or minor flaw is dealt with. Fixing these little things goes a long way in producing an image that looks very clean and refined in the end.
It took me a couple of days for the post production on this shoot, including archiving and transfering the files. I use We Transfer to deliver images to my client. I usually deliver TIFF files, so they can crop the image or add text without degrading the quality of the file.
In Conclusion
I hope you enjoyed this peek behind-the-scenes at a restaurant photo shoot.
It was a lot of work, but really fun. We got a lot done and I’m really looking forward to seeing the launch of the new menu in June.
For updates on this shoot and to see more images as I release them, be sure to follow me on Instagram.
In the meantime, if you haven’t subscribed to my blog, hit the button below. You’ll get your free guide to restaurant photography as well as access to several other free eBooks and updates on new posts and product launches.
If you have any questions about this shoot or any other aspect of restaurant photography, please leave a comment below.
10

Super helpful! Thank you for sharing!
I’m so glad you found it helpful, Erin!
This came just in time im about to finalize a big menu shoot 32 items in two days yikes! Did you work with a food stylist at all? What kind of props do you bring? I was under the impression its best to use what they serve the dishes on there so the guest see a dish online and its the same in person? They did ask me to bring surfaces maybe a dark and light one which i guess is fine. when you say 15 shots is that just one photo of each dish? They want me to take two angles of each dish its going to be a lot lol
Hi Nadya,
I didn’t work with a food stylist but I made sure that they knew to choose a chef that was good at plating and would care about the presentation. The great thing about this shoot was that there was a creative director and they were very involved and had a good eye. It really felt like a collaboration. They brought some of their own dishes and I brought some that were in line with what they wanted in terms of aesthetic as well. Some restaurants are adamant about their own dishes and environment being captured in the images, while other want to create a magazine-style look. This job was the latter, which is why it look so long. I didn’t change angles when I was shooting, but I did take some slight variations in composition, so they did have more to choose from. Every photographer works differently. I have never been able to do 30 shots unless I was working with natural light. I hope this helps and good luck. Drop me a line and let me know how you do.