Lightroom is the one program that food photographers really need to master. There is a misconception that Lightroom is not as powerful of a photo editor as Photoshop. It’s actually very powerful, but in very different ways.
Photoshop is a pixel editor. There are many things you can do in Photoshop that you cannot do in Lightroom, like make composites or add text to your images. Lightroom’s strength lies in its ability to act as a database to organize your photos.
Lightroom is also a very efficient global editor. I recommend doing all of your global adjustments in Lightroom before opening up your file in Photoshop to give it that last ten percent that it needs to look clean and beautifully refined.
Let’s look three important hacks you may be underutilizing so you can quickly improve your photos.
The Radial Filter Tool
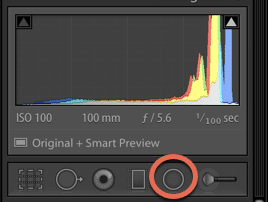
The Radial Filter tool (Shift+M) can be found in the top of your panel, in the set of tools under the histogram.
I admit I ignored this tool for a long time, until I realized how powerful it can be.
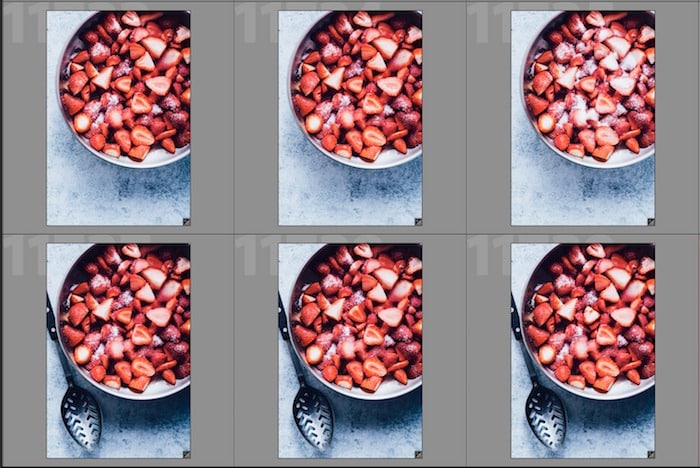
There are many times when shooting food that the whole image can be properly exposed except for parts of the food or other elements in your scene. This is particularly true when photographing food placed in a bowl, as the rim of the bowl casts a bit of a shadow onto the contents. This can also happen when food is presented in a mound, like pasta, or stacked like brownies.
Your lighting technique can affect how evenly lit your subject is.
For example, with backlighting, it’s common for the front to not get enough light while the back has a tendency to be blown out. Depending on where you place your subject, this can affect your shot.
The Radial Filter will help you lighten specific areas in the frame, or make other edits to colour and tone etc.
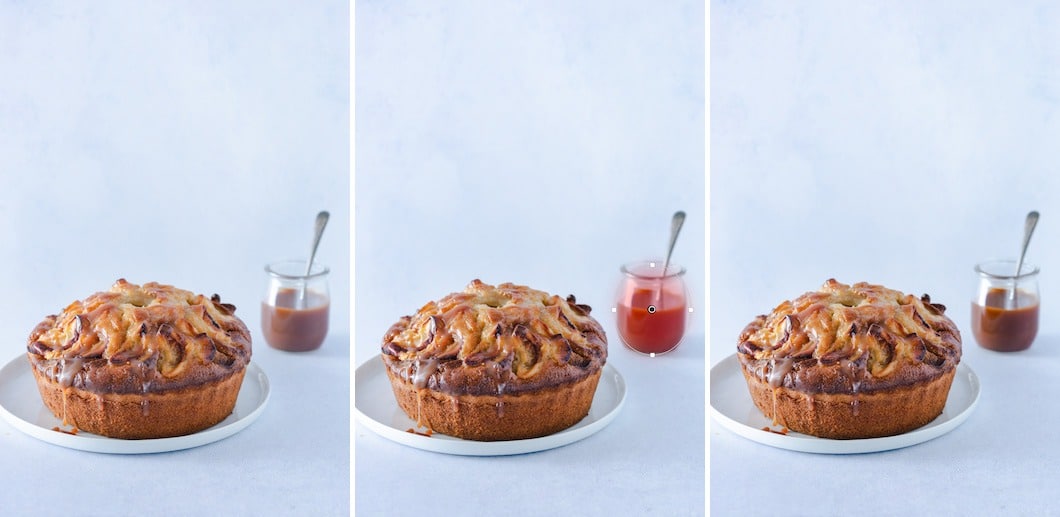
In the image below on the left, I didn’t like how my jar of caramel was looking. It looked too light and hazy. I really wanted to bring out the richness of the caramel, so I used the radial filter to brush on Dehaze and add a little Clarity.
To use the radial filter tool, click on it in under the histogram.
Bring it to the area you want to adjust and click and drag it to activate the crosshairs and start making your selection.
Drag the tool down and adjust the filter to the size that will cover your area.
Click on Show Mask Overlay in the bottom left-hand corner under your image so you can see where you’re brushing.
![]()
Make the required adjustments with the sliders and hit > Enter when you’re satisfied with your results.
Range Mask Tool
This is a new tool that came out with the Lightroom Classic CC in 2017 and its a boon for food photographers that do most of their editing in Lightroom. With this tool you can now selectively change the colour of certain areas without affecting the rest of the image.
I have found this particularly useful when editing linens. Colour shifts often occur when you’re shooting fabrics.
For example, in the images of the Chinese Pork Ribs below, you can see that in the one on the left, the dark blue napkin read as quite purple. This is not how it looked like to the naked eye. In the final edit on the right on the right shows a truer rendition.
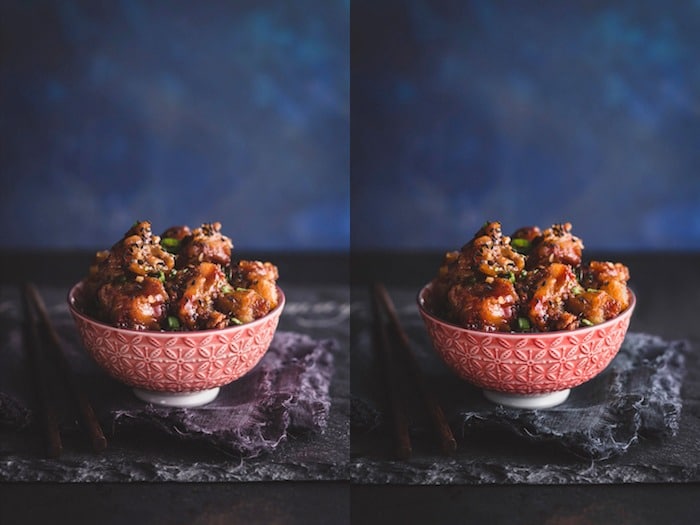
If you simply use the blue and purple sliders in the HSL Panel, it will affect the blues and purples in the whole image. I wanted to decrease the purple in the fabric more precisely. You can now do this with the range mask tool.
Today I’ll briefly touch on Color Range Mask, and go more in-depth on this tool in an upcoming post, which will also talk about Luminance Range Mask.
With color range mask, Lightroom bases its masking on the color ranges you select with the dropper tool. This tool lets you select a large colour palette by clicking and dragging the eyedropper over a select area in your photo. It takes the Radial Filter and Brush Tool one step further in refining your images.
To use the color range mask, select your adjustment area with one of the local adjustment tools. To select the colours you want to work on, click and drag the area that represents those colours. You can also select specific colour areas with > shift+click on desired points.
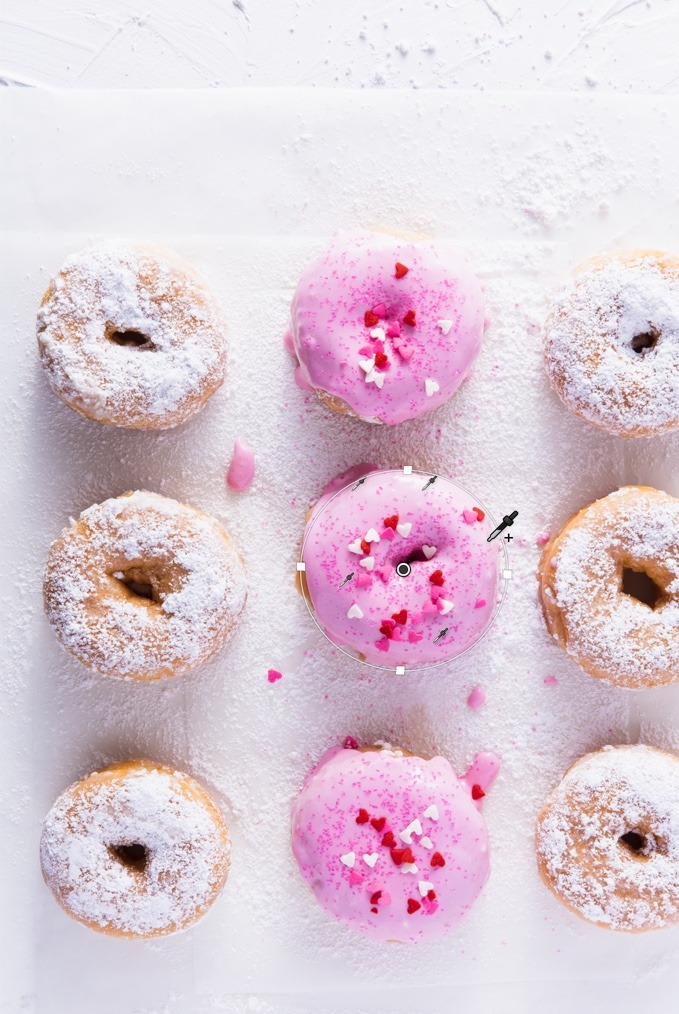
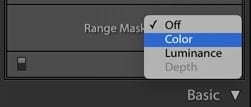
Now head over to the range mask tool at the bottom of your options for the tool you have activated and choose Color.
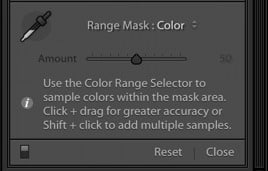
Grab the eyedropper tool and pick a colour to add to the area you have selected, and use the other sliders as needed to make adjustments to contrast, saturation etc.
To add or change a colour, go to the colour picker and make a colour selection with the desired saturation intensity.
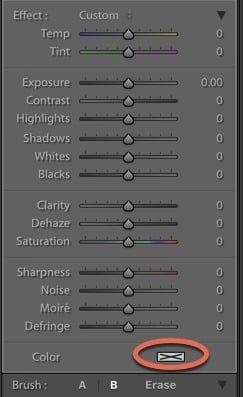
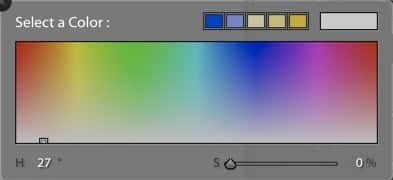
Keep in mind that in this method, you are adding a colour to what you already have. If you would like to increase its intensity or change it completely, you will have to apply negative saturation first to get rid of the colour you want to lessen.
You can see how useful this tool is for us food photographers. Editing food often requires very specific edits to parts of our image.
Sharpening Mask
Sharpening enhances edge definition to bring out the details in an image.
When you sharpen do you simply move the sharpening slider and call it a day?
Or maybe you sharpen upon export, depending if your images will be printed or posted on the web.
If you’re not using the Sharpening Mask in Lightroom, you could be missing out on an important step in refining your image.
See, when you’re editing your food images, you really want to focus on your subject, what we call “the hero”. Sharpening the props and background doesn’t really matter much.
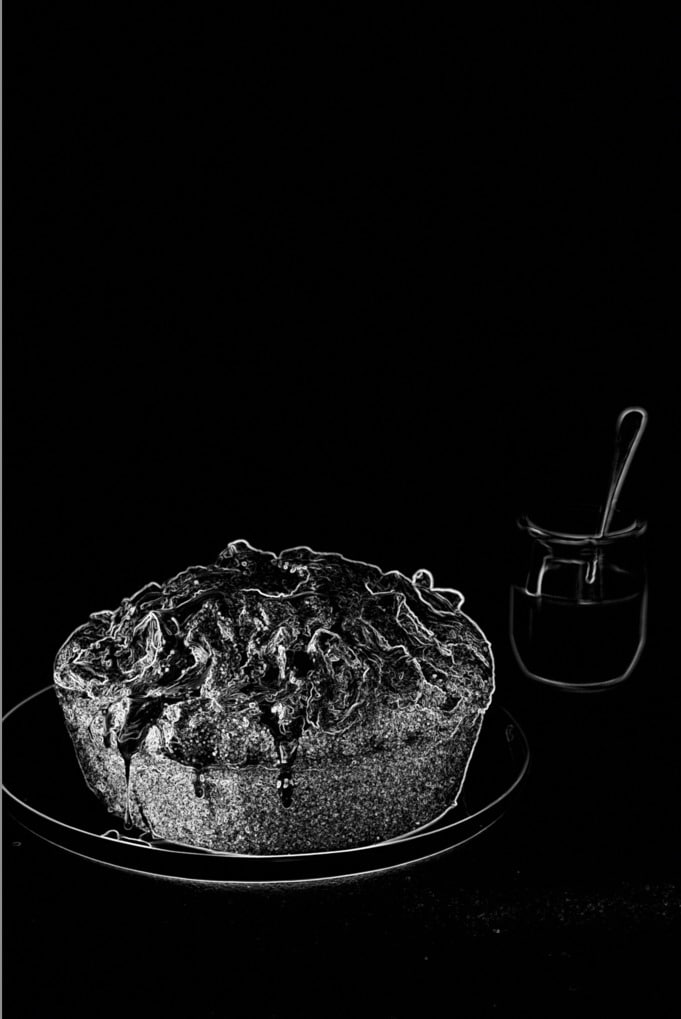
Therefore, you should selectively sharpen an image, and you can do this with Sharpening Mask.
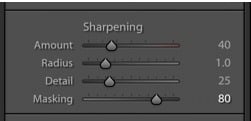
To use this tool, choose your sharpening amount (I’m usually at around 40-50), then click on the Masking slider while holding down the option key. Choose the appropriate amount of sharpening or your image. I’m usually at around 80-90.
In Conclusion
Hopefully you have learned something new with this post. Try these features if you haven’t and share your results.

